Edgy and Gritty Fall Photo Shoot
Promise me one thing wild child, never filter your soul to suit a mould. – Nikki Rowe.
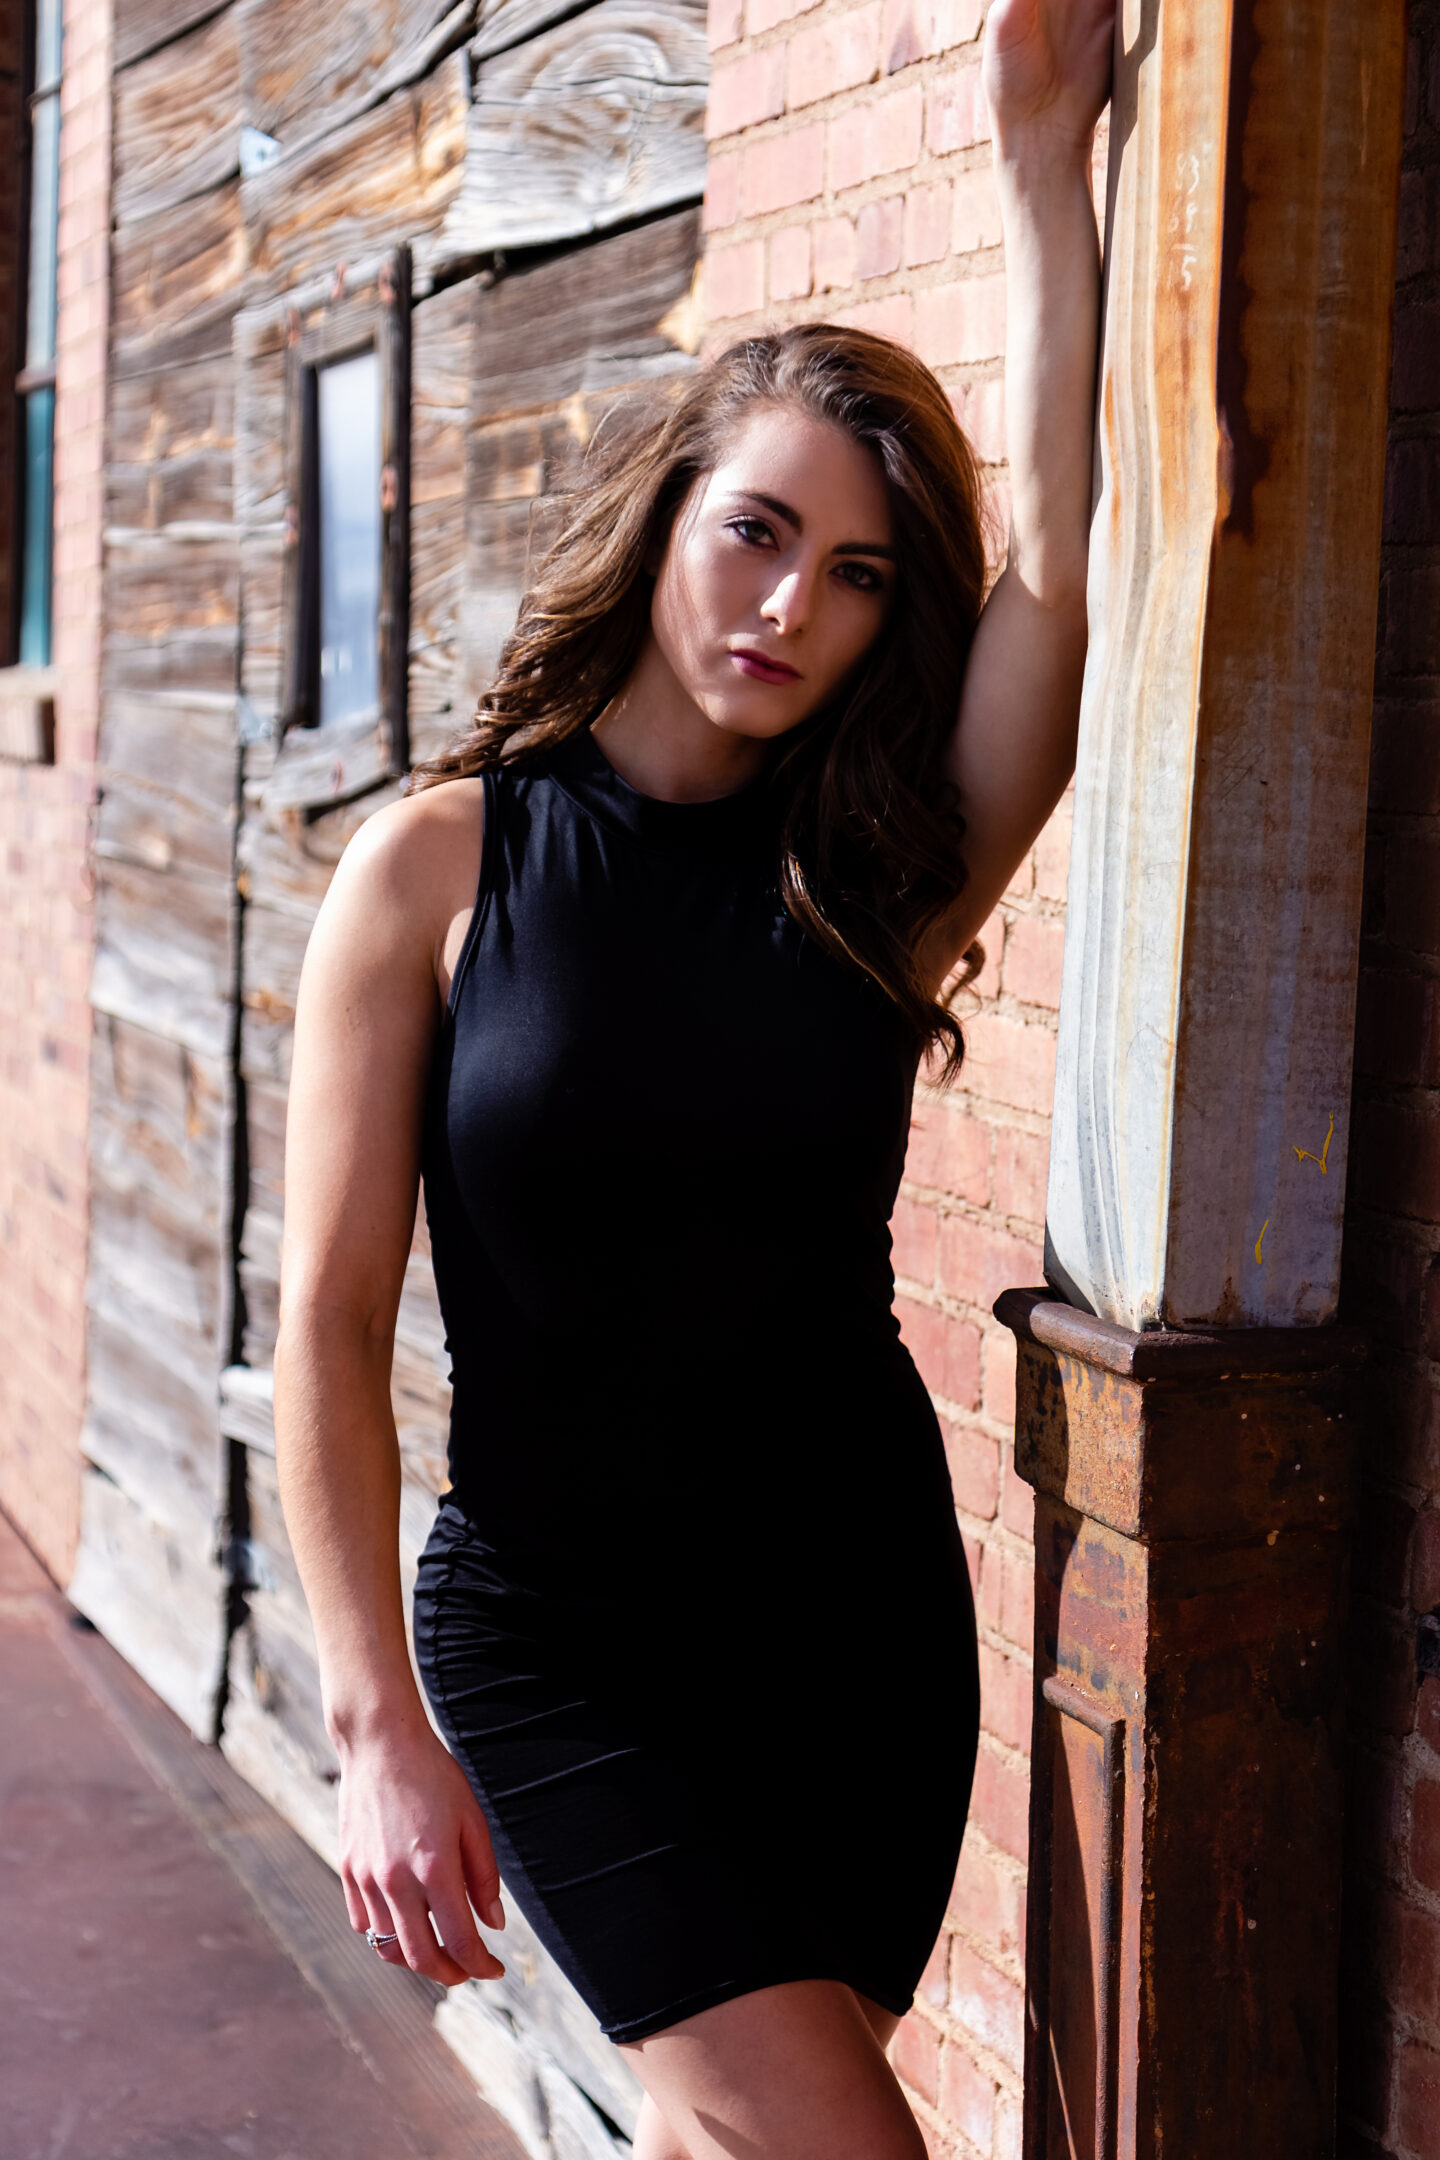
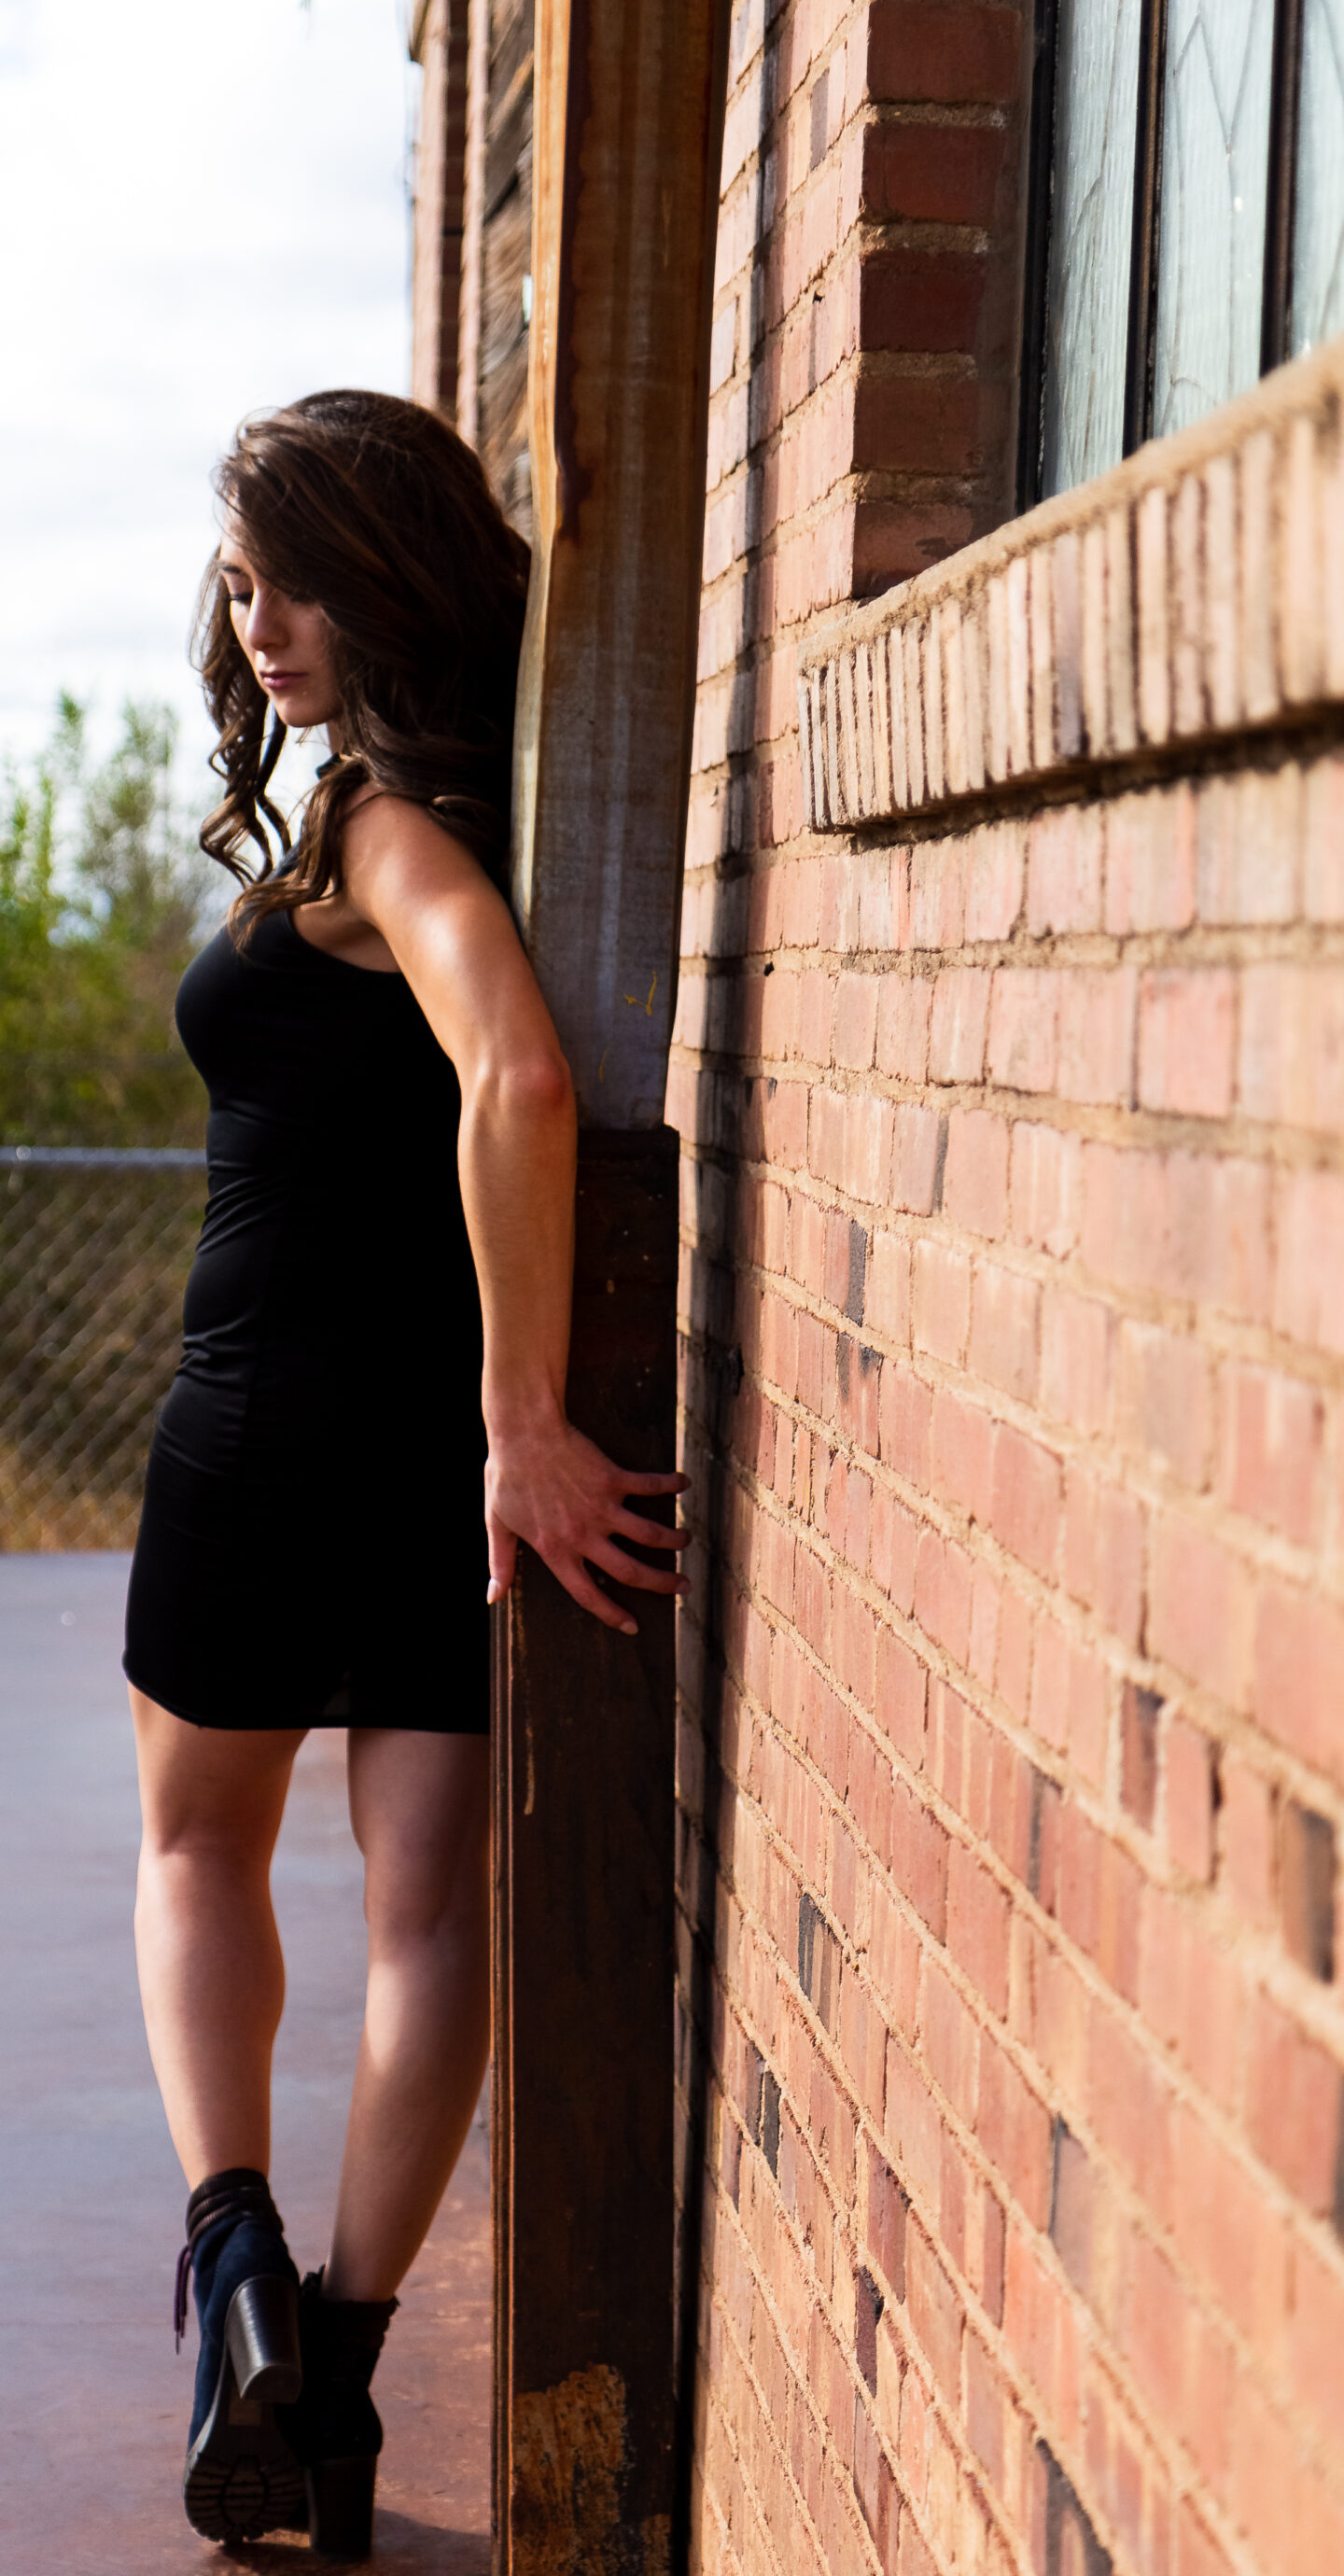
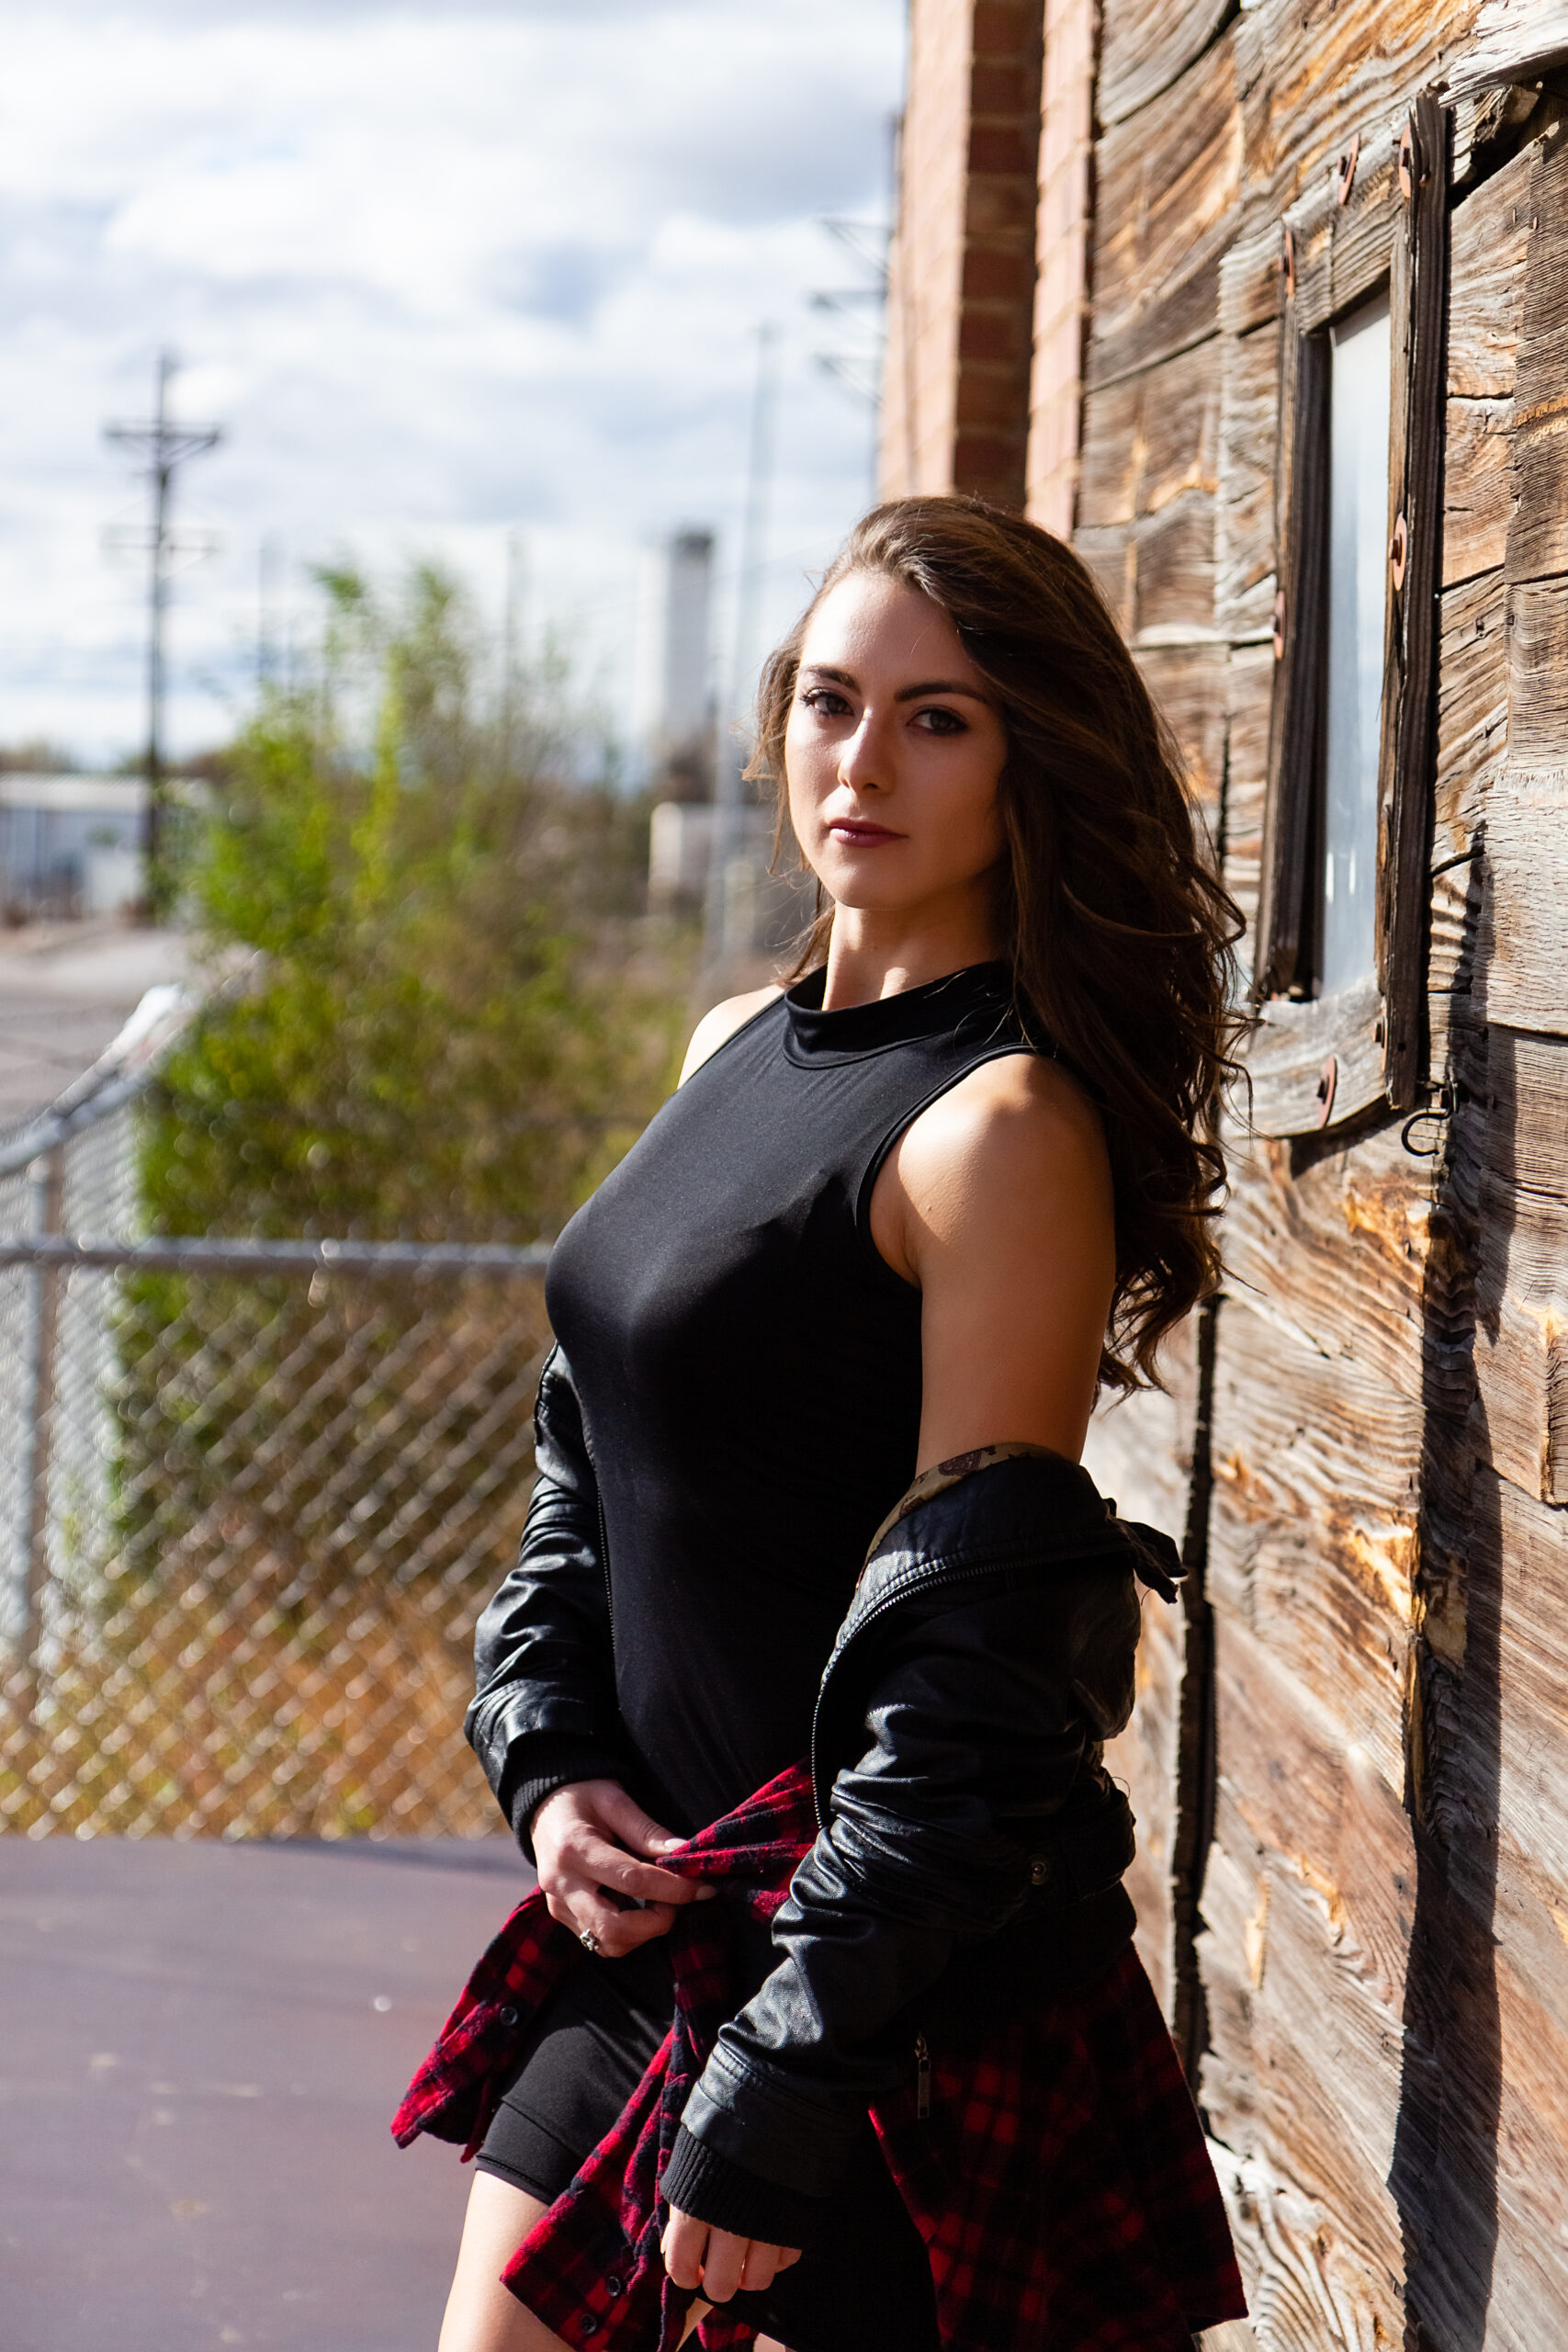
The right location can enhance the type of look the photographer has in mind. The right location can also be used to provide contrast while at other times it can be used to complement. A black leather jacket, red flannel, and black skirt all played a role in making this model look like a wild child against a backdrop of red brick and distressed wood grain.
Model: Jaslyn Diaz / Instragram
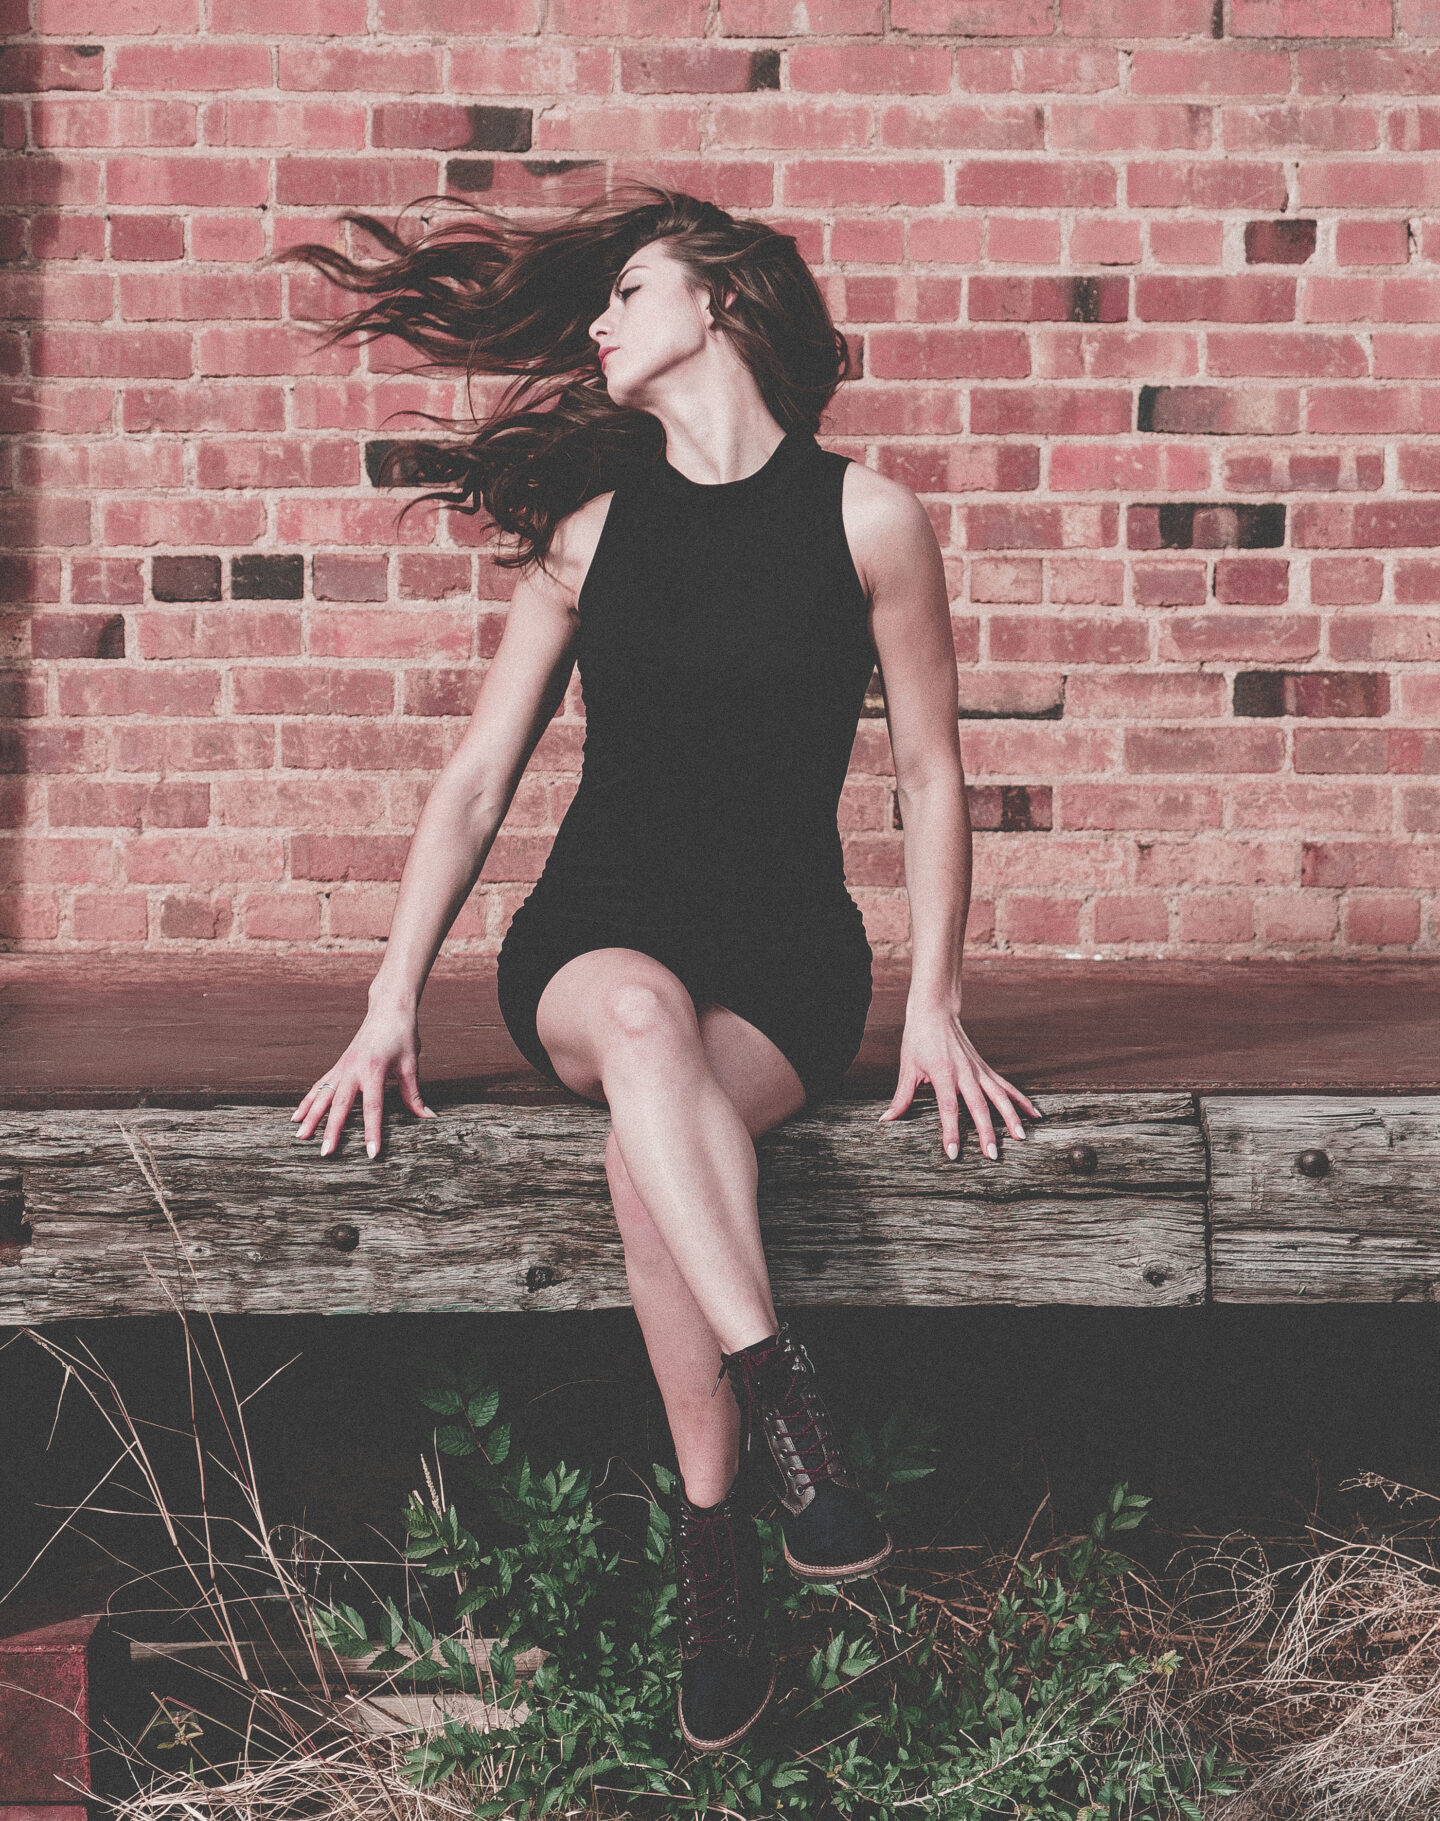
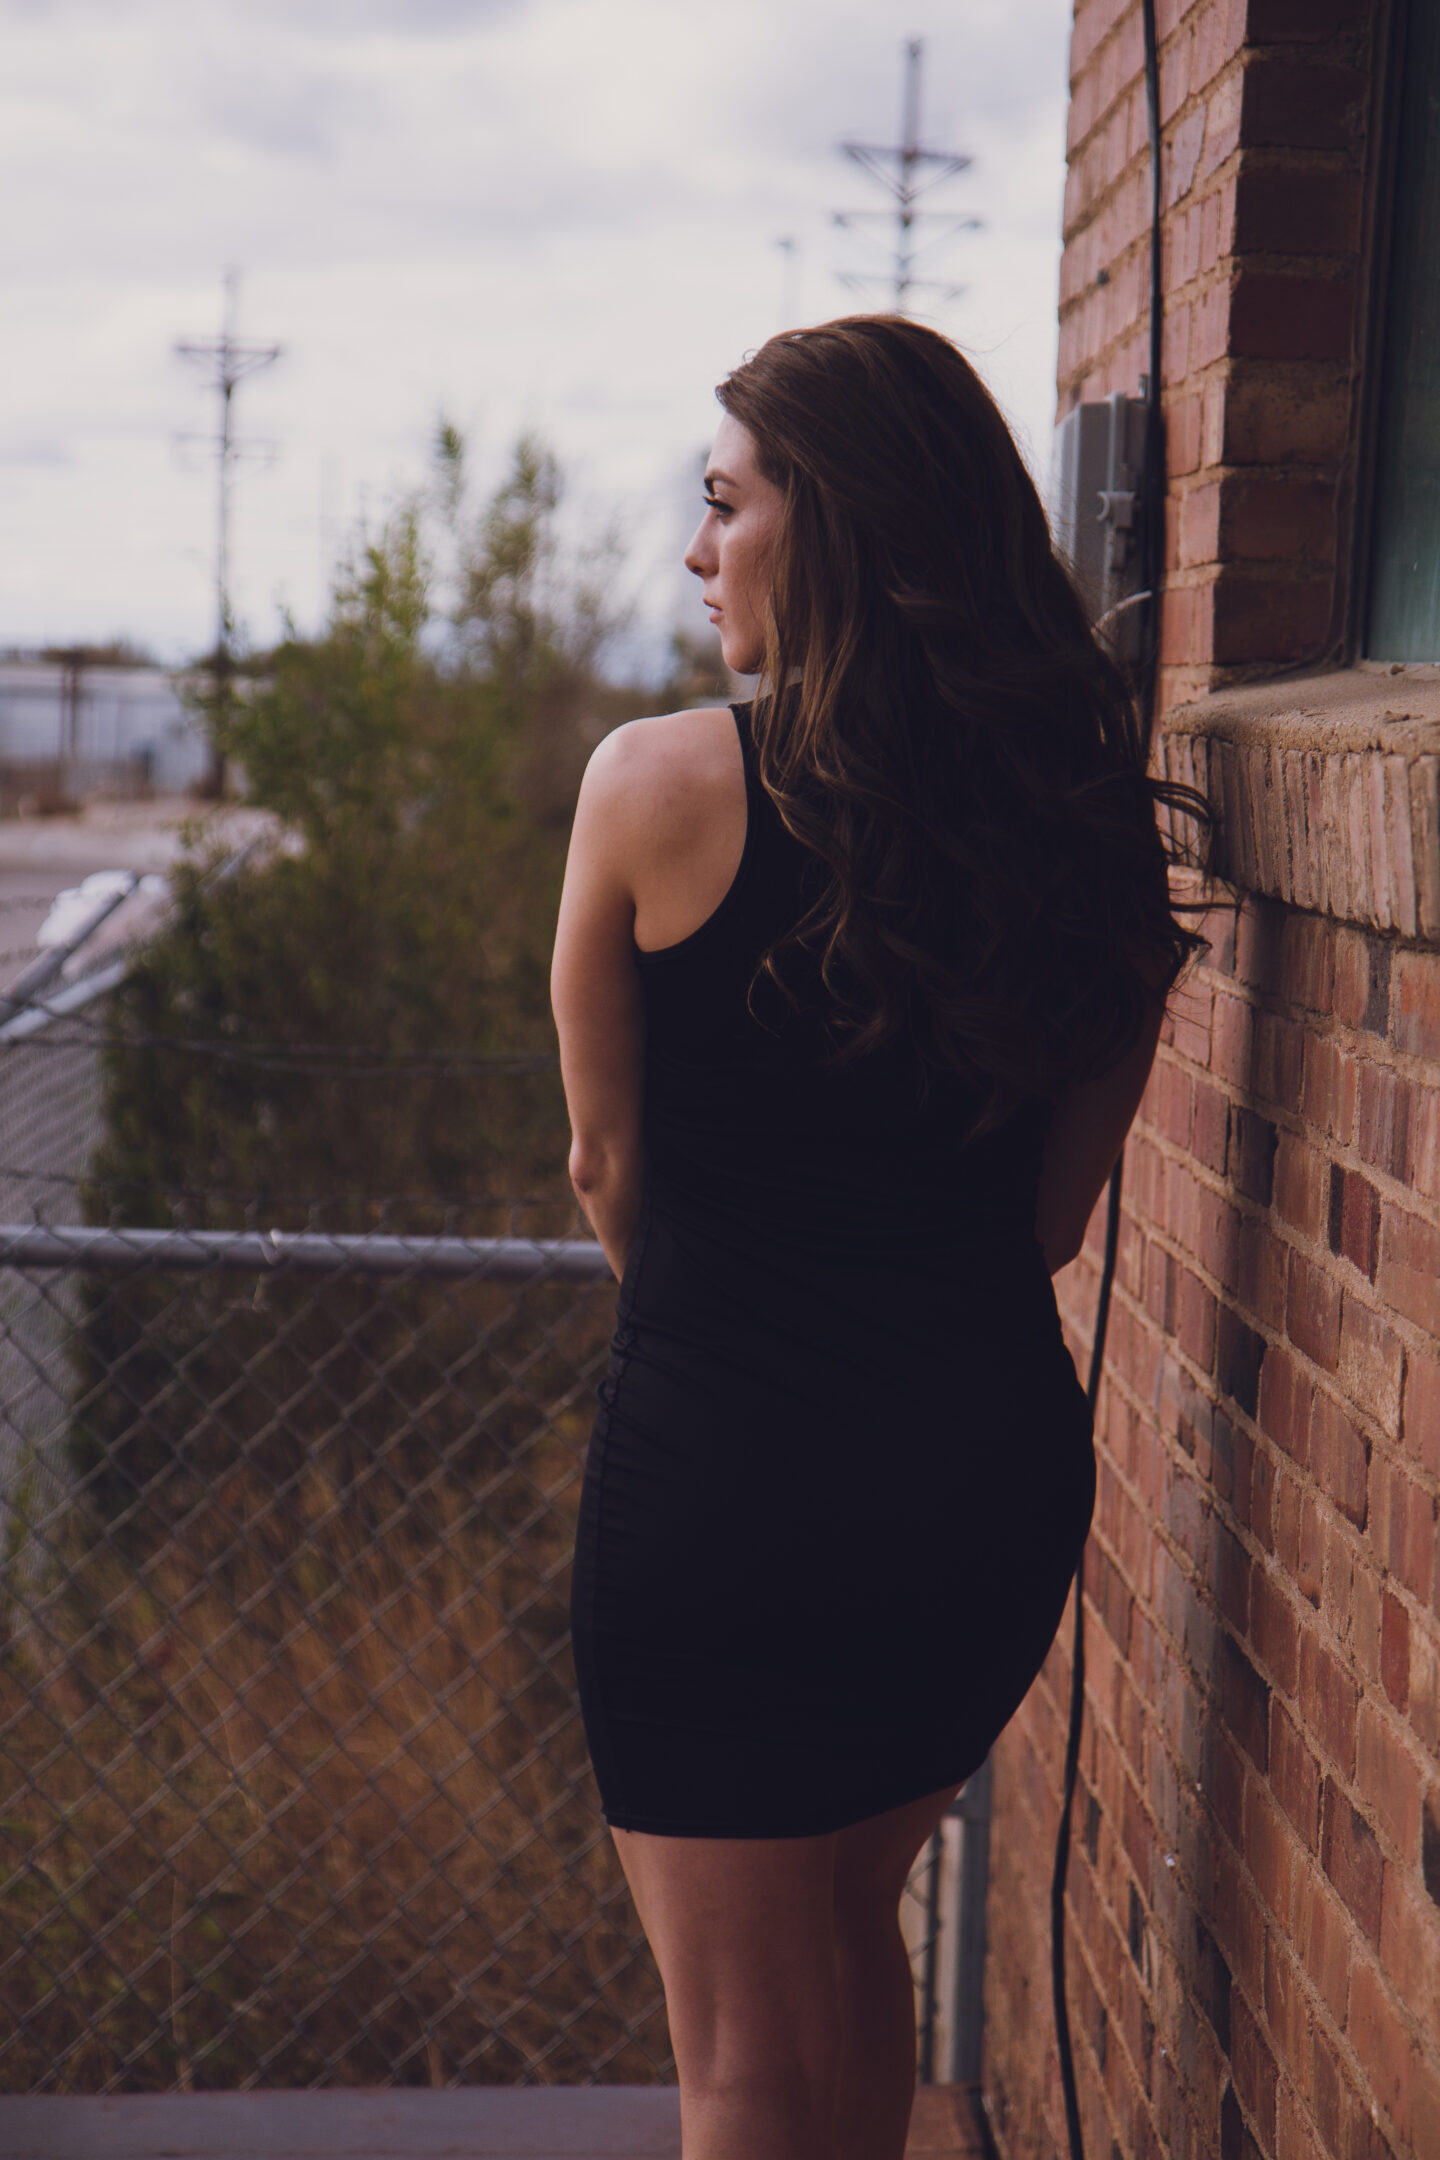
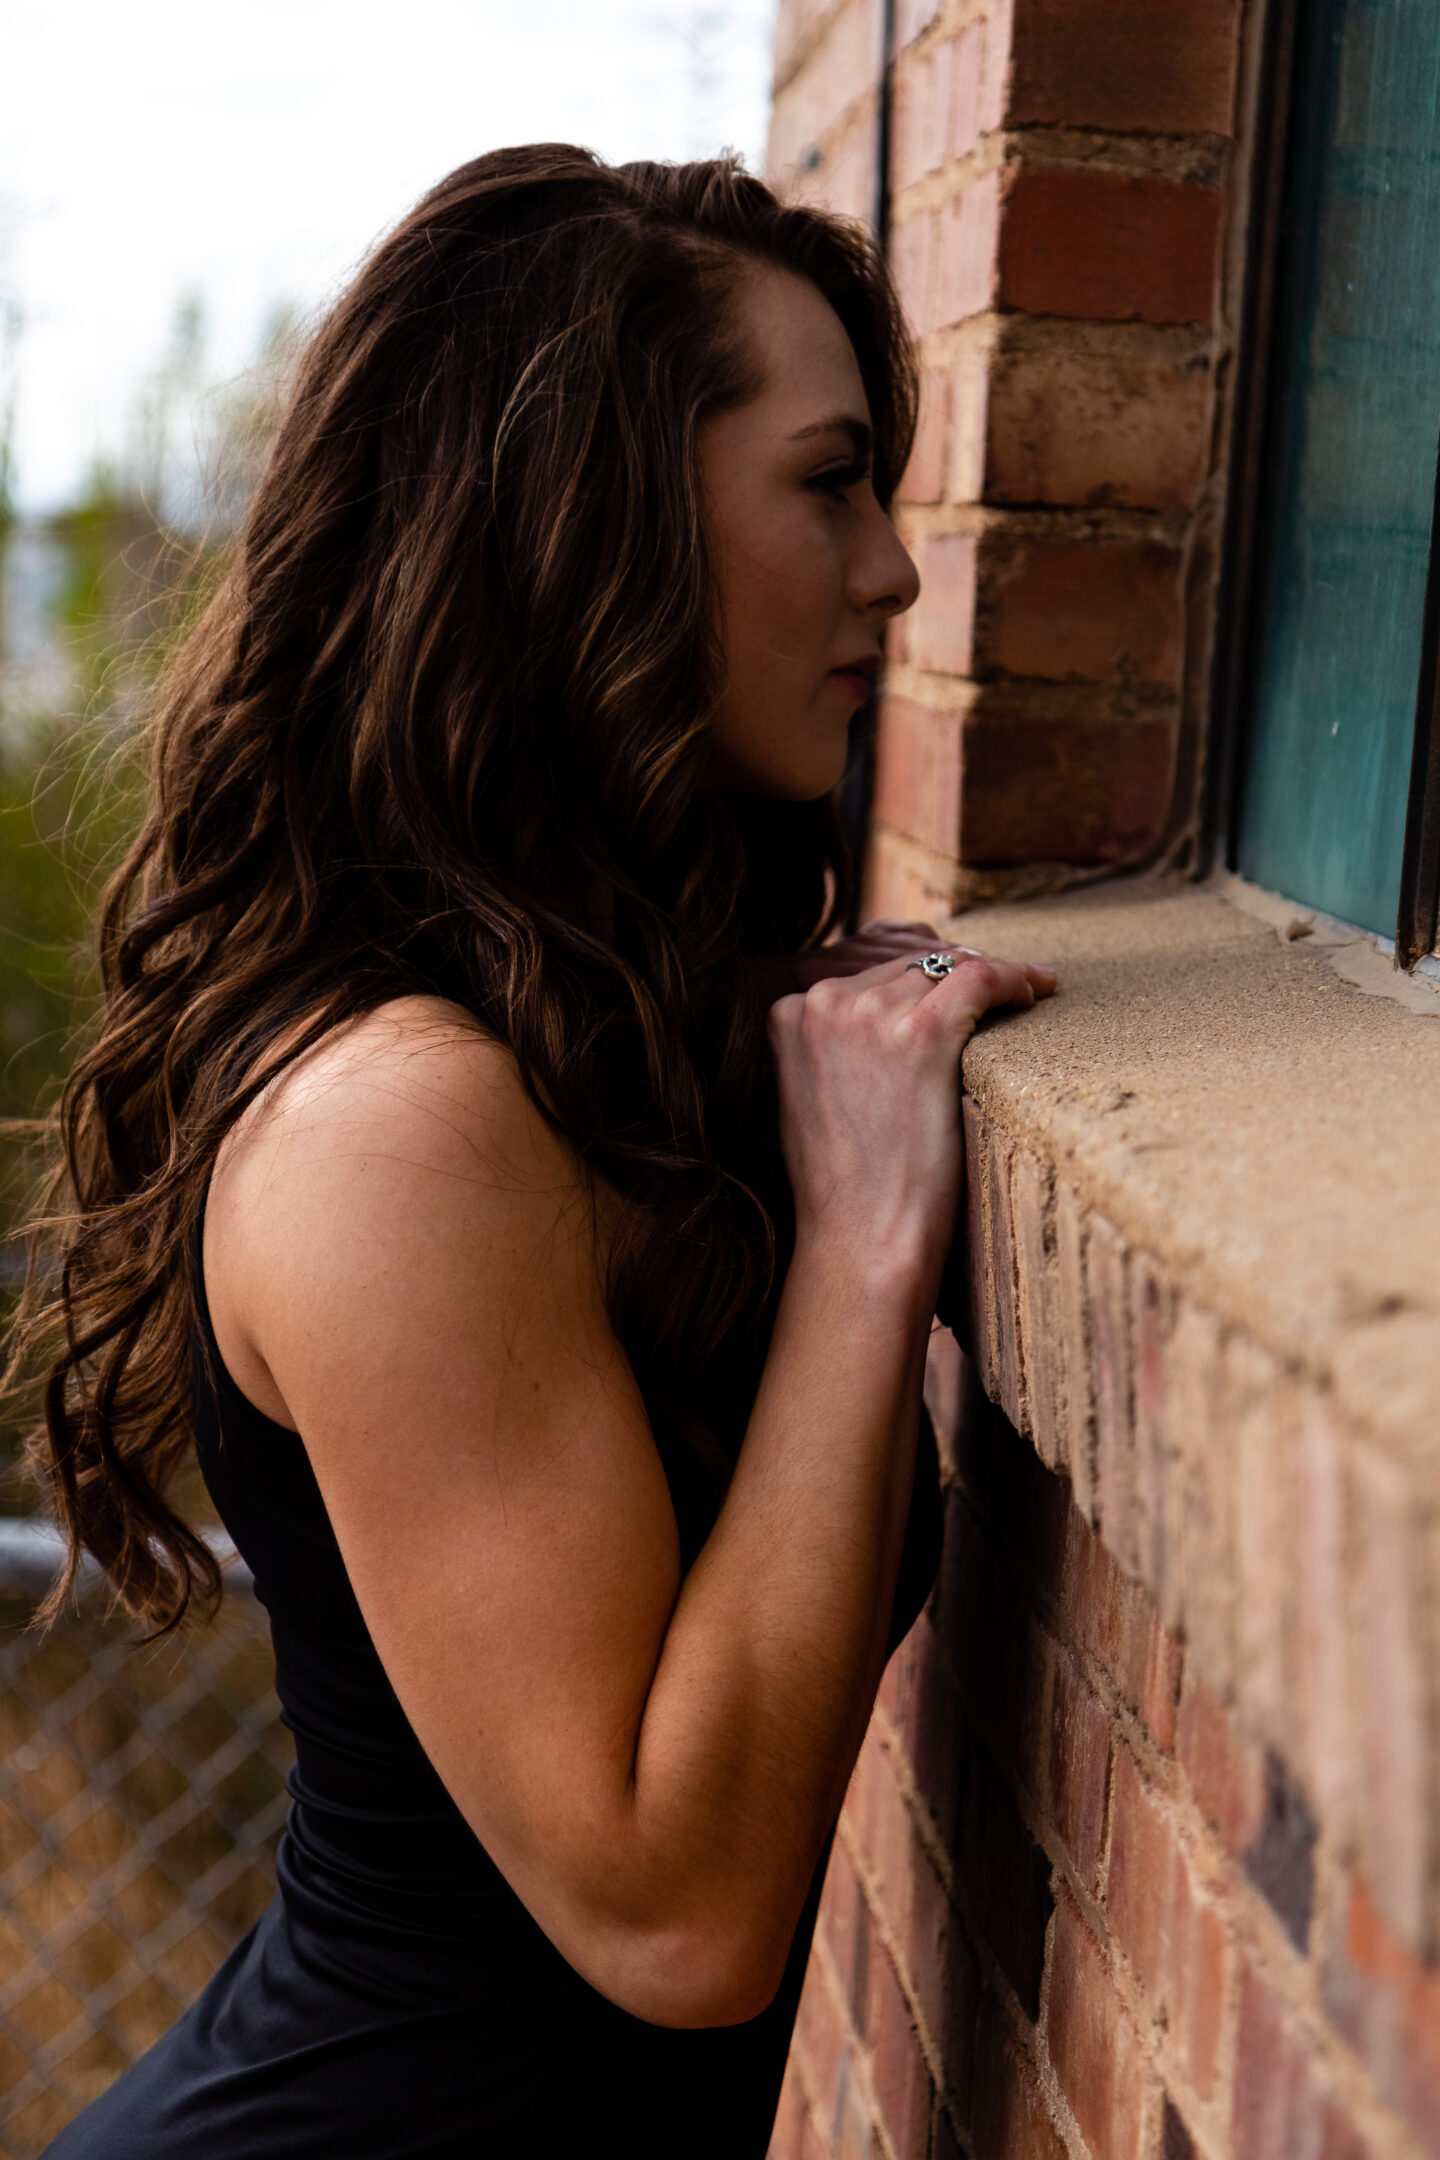
The photo above illustrates how in the editing process I took advantage of the highlights in Jaslyn\’s hair to complement the brick wall behind her. I adjusted the tone curve, played with the color red in HSL, and added a bit of grain in Lightroom in order to achieve the gritty and edgy look I desired.
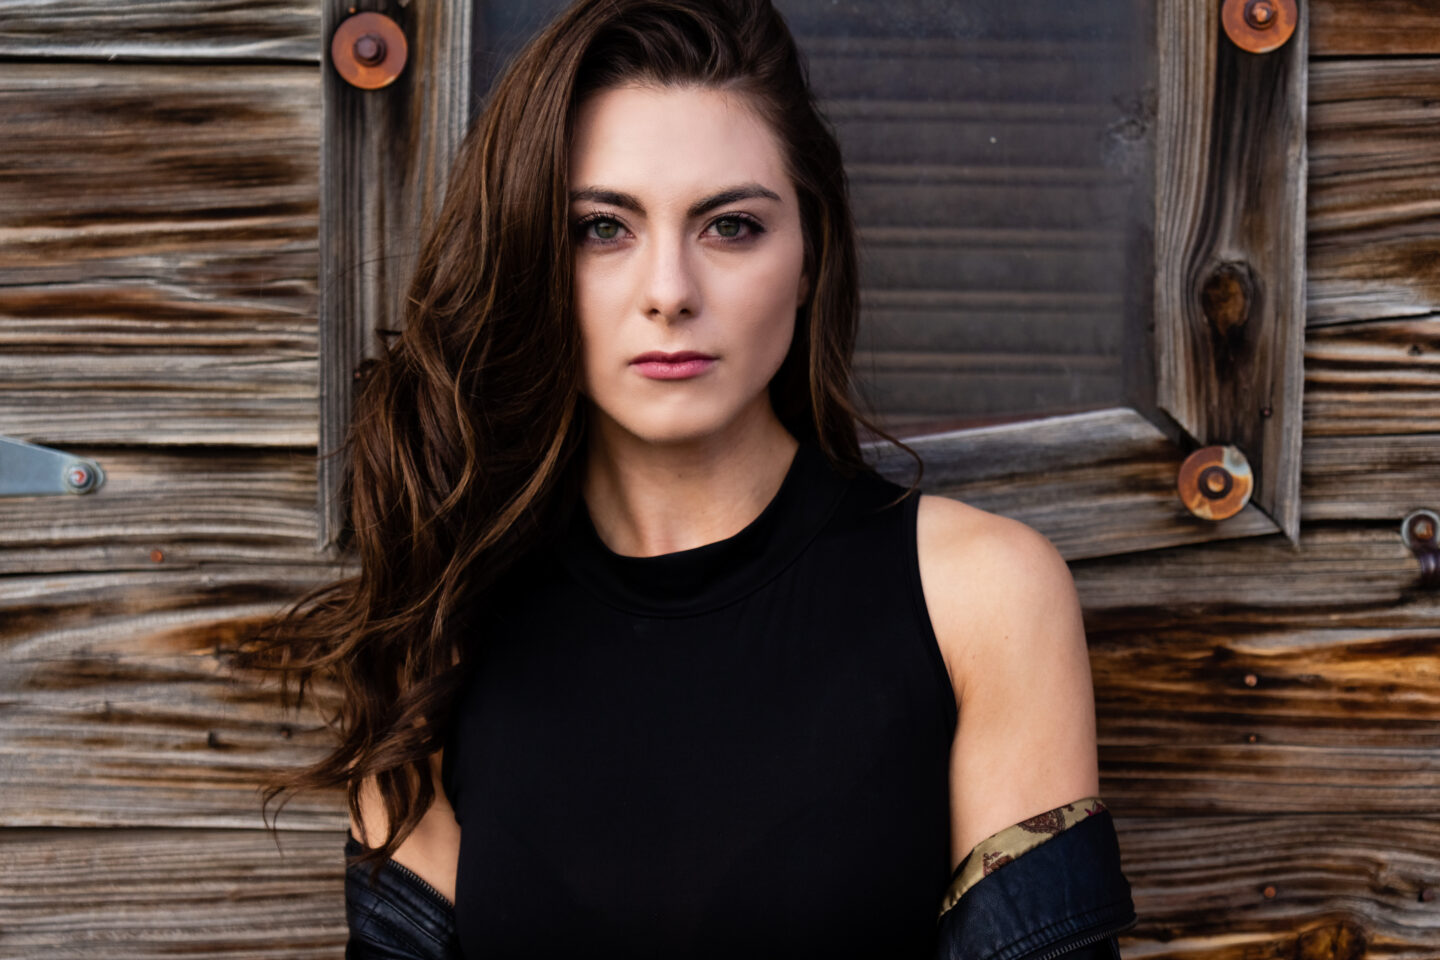
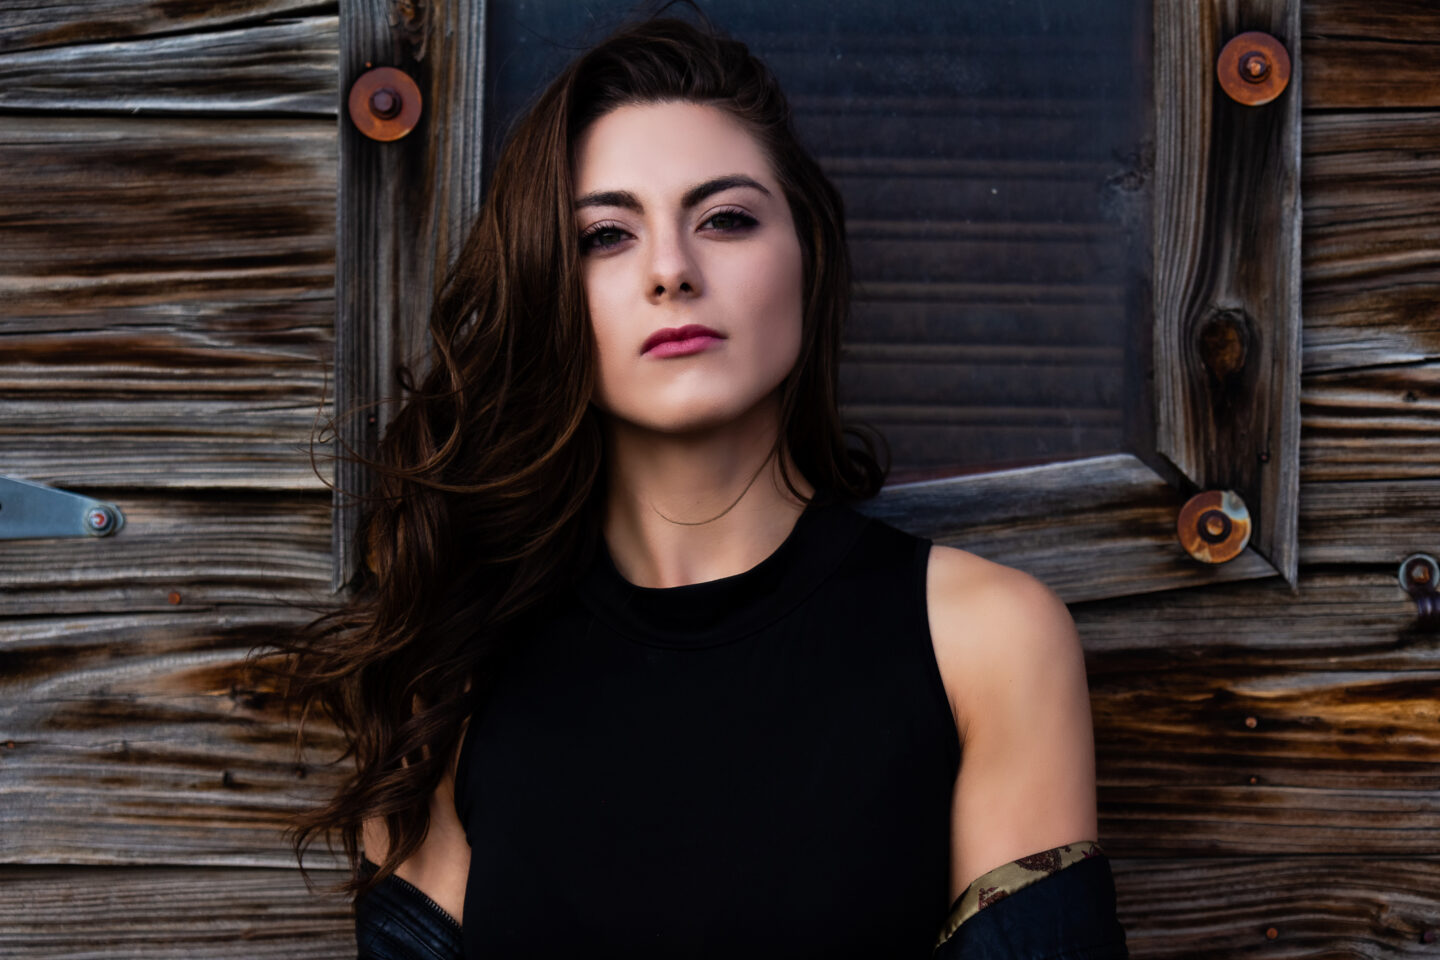
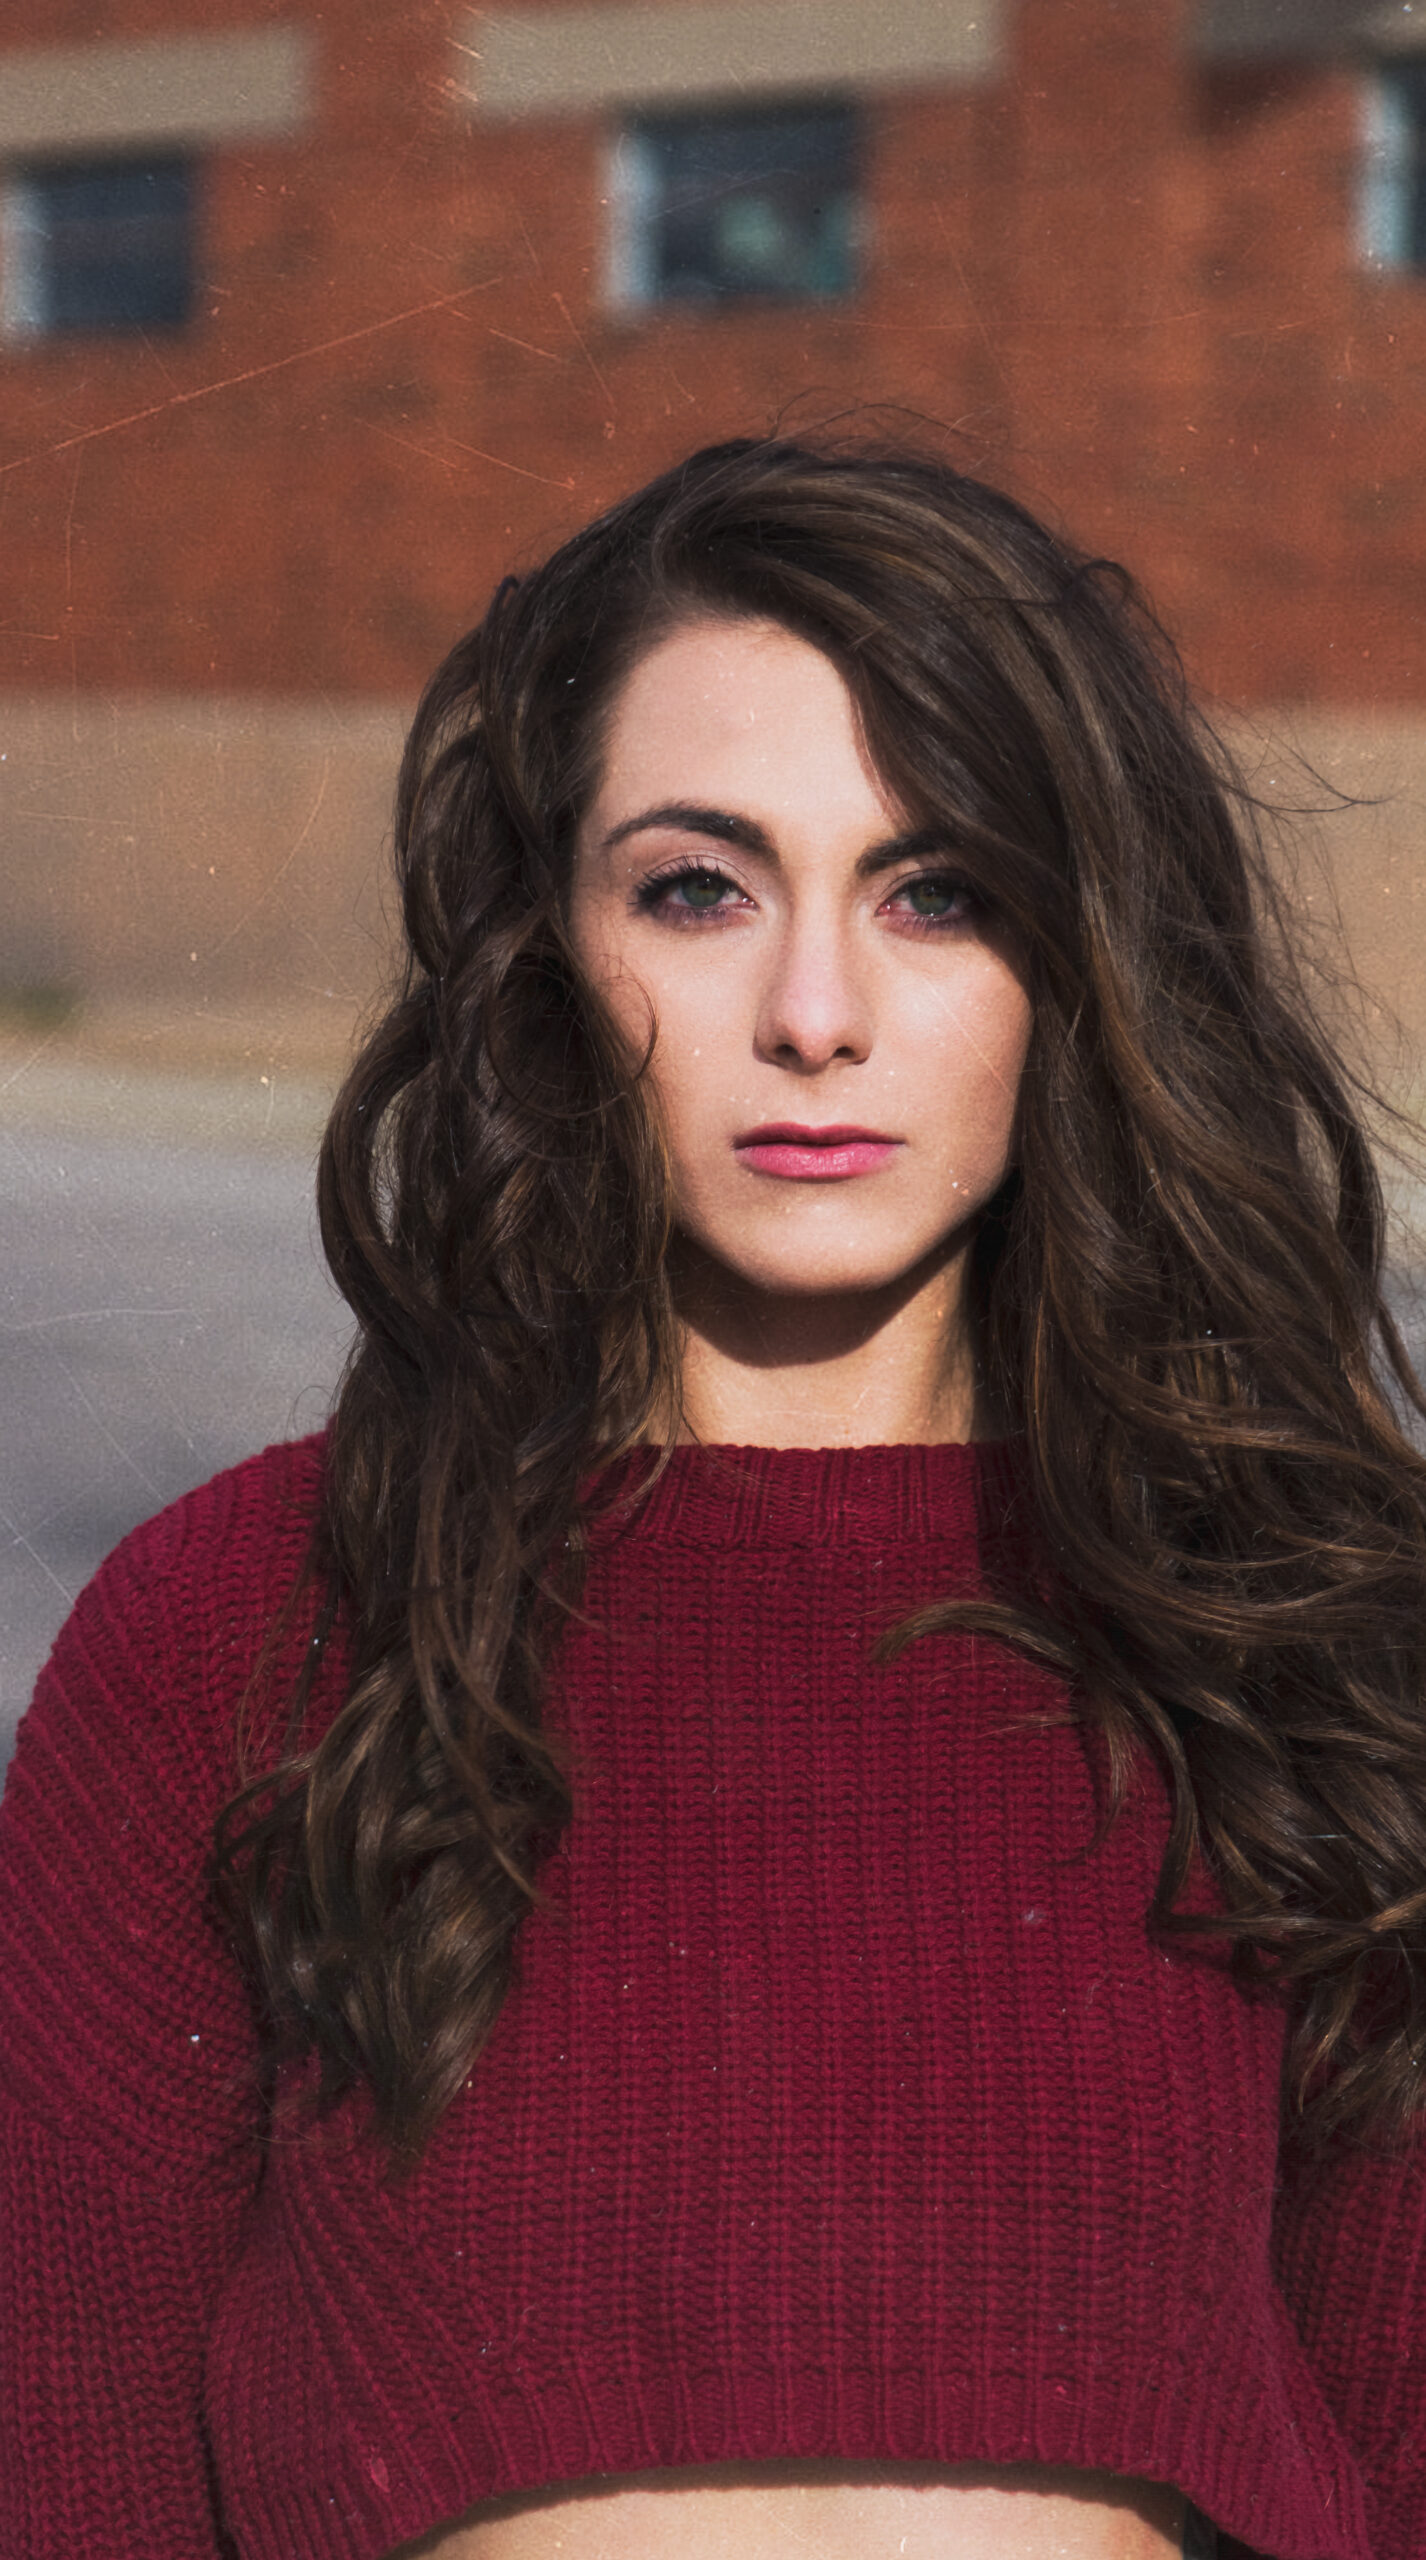
In the feature image, I adjusted the white balance for an increase in blue for a cooler look to match sky. Then, I imported it into Photoshop and overlaid some dust and scratches to give it a film vintage look adding to the grittiness of the surroundings.
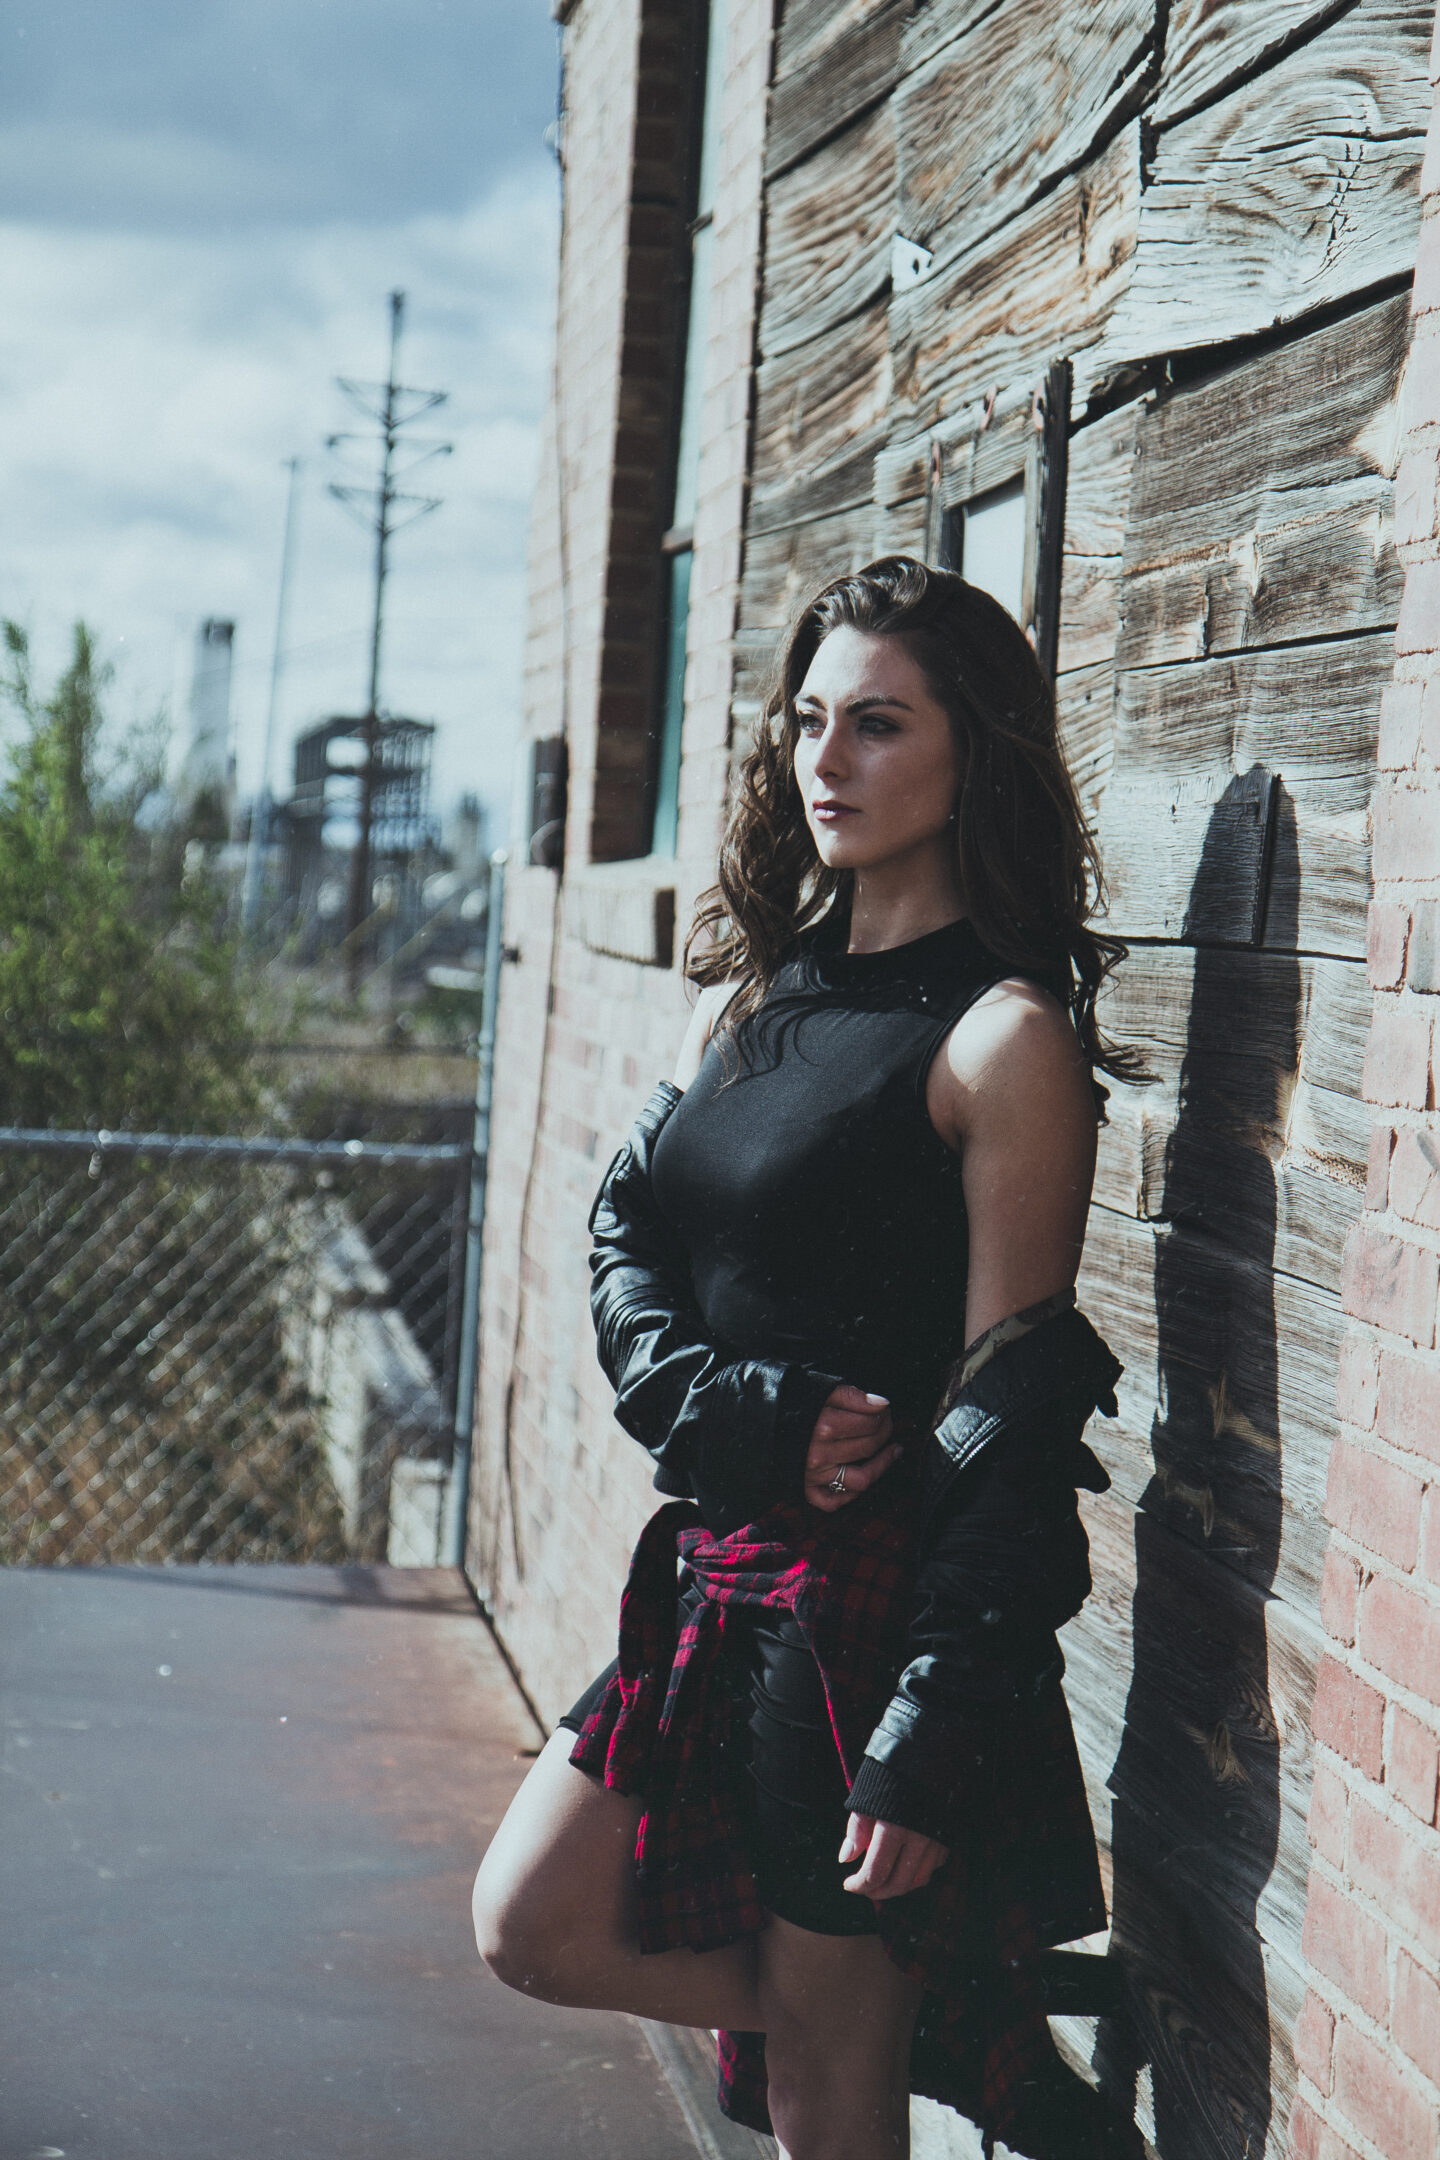
I had my camera set to 100 ISO and an f stop of 2.8. In order to keep my subject in focus at a narrow depth of field, I made sure to keep my distance. This was also the same day the clouds were racing overhead creating wide swings in the light. And I did learn to develop a quick shutter finger in order to compensate. I\’ve learned over time that what may appear to be obstacles shooting outside are actually advantages to be used and letting that creativity factor into the development of a particular shot.

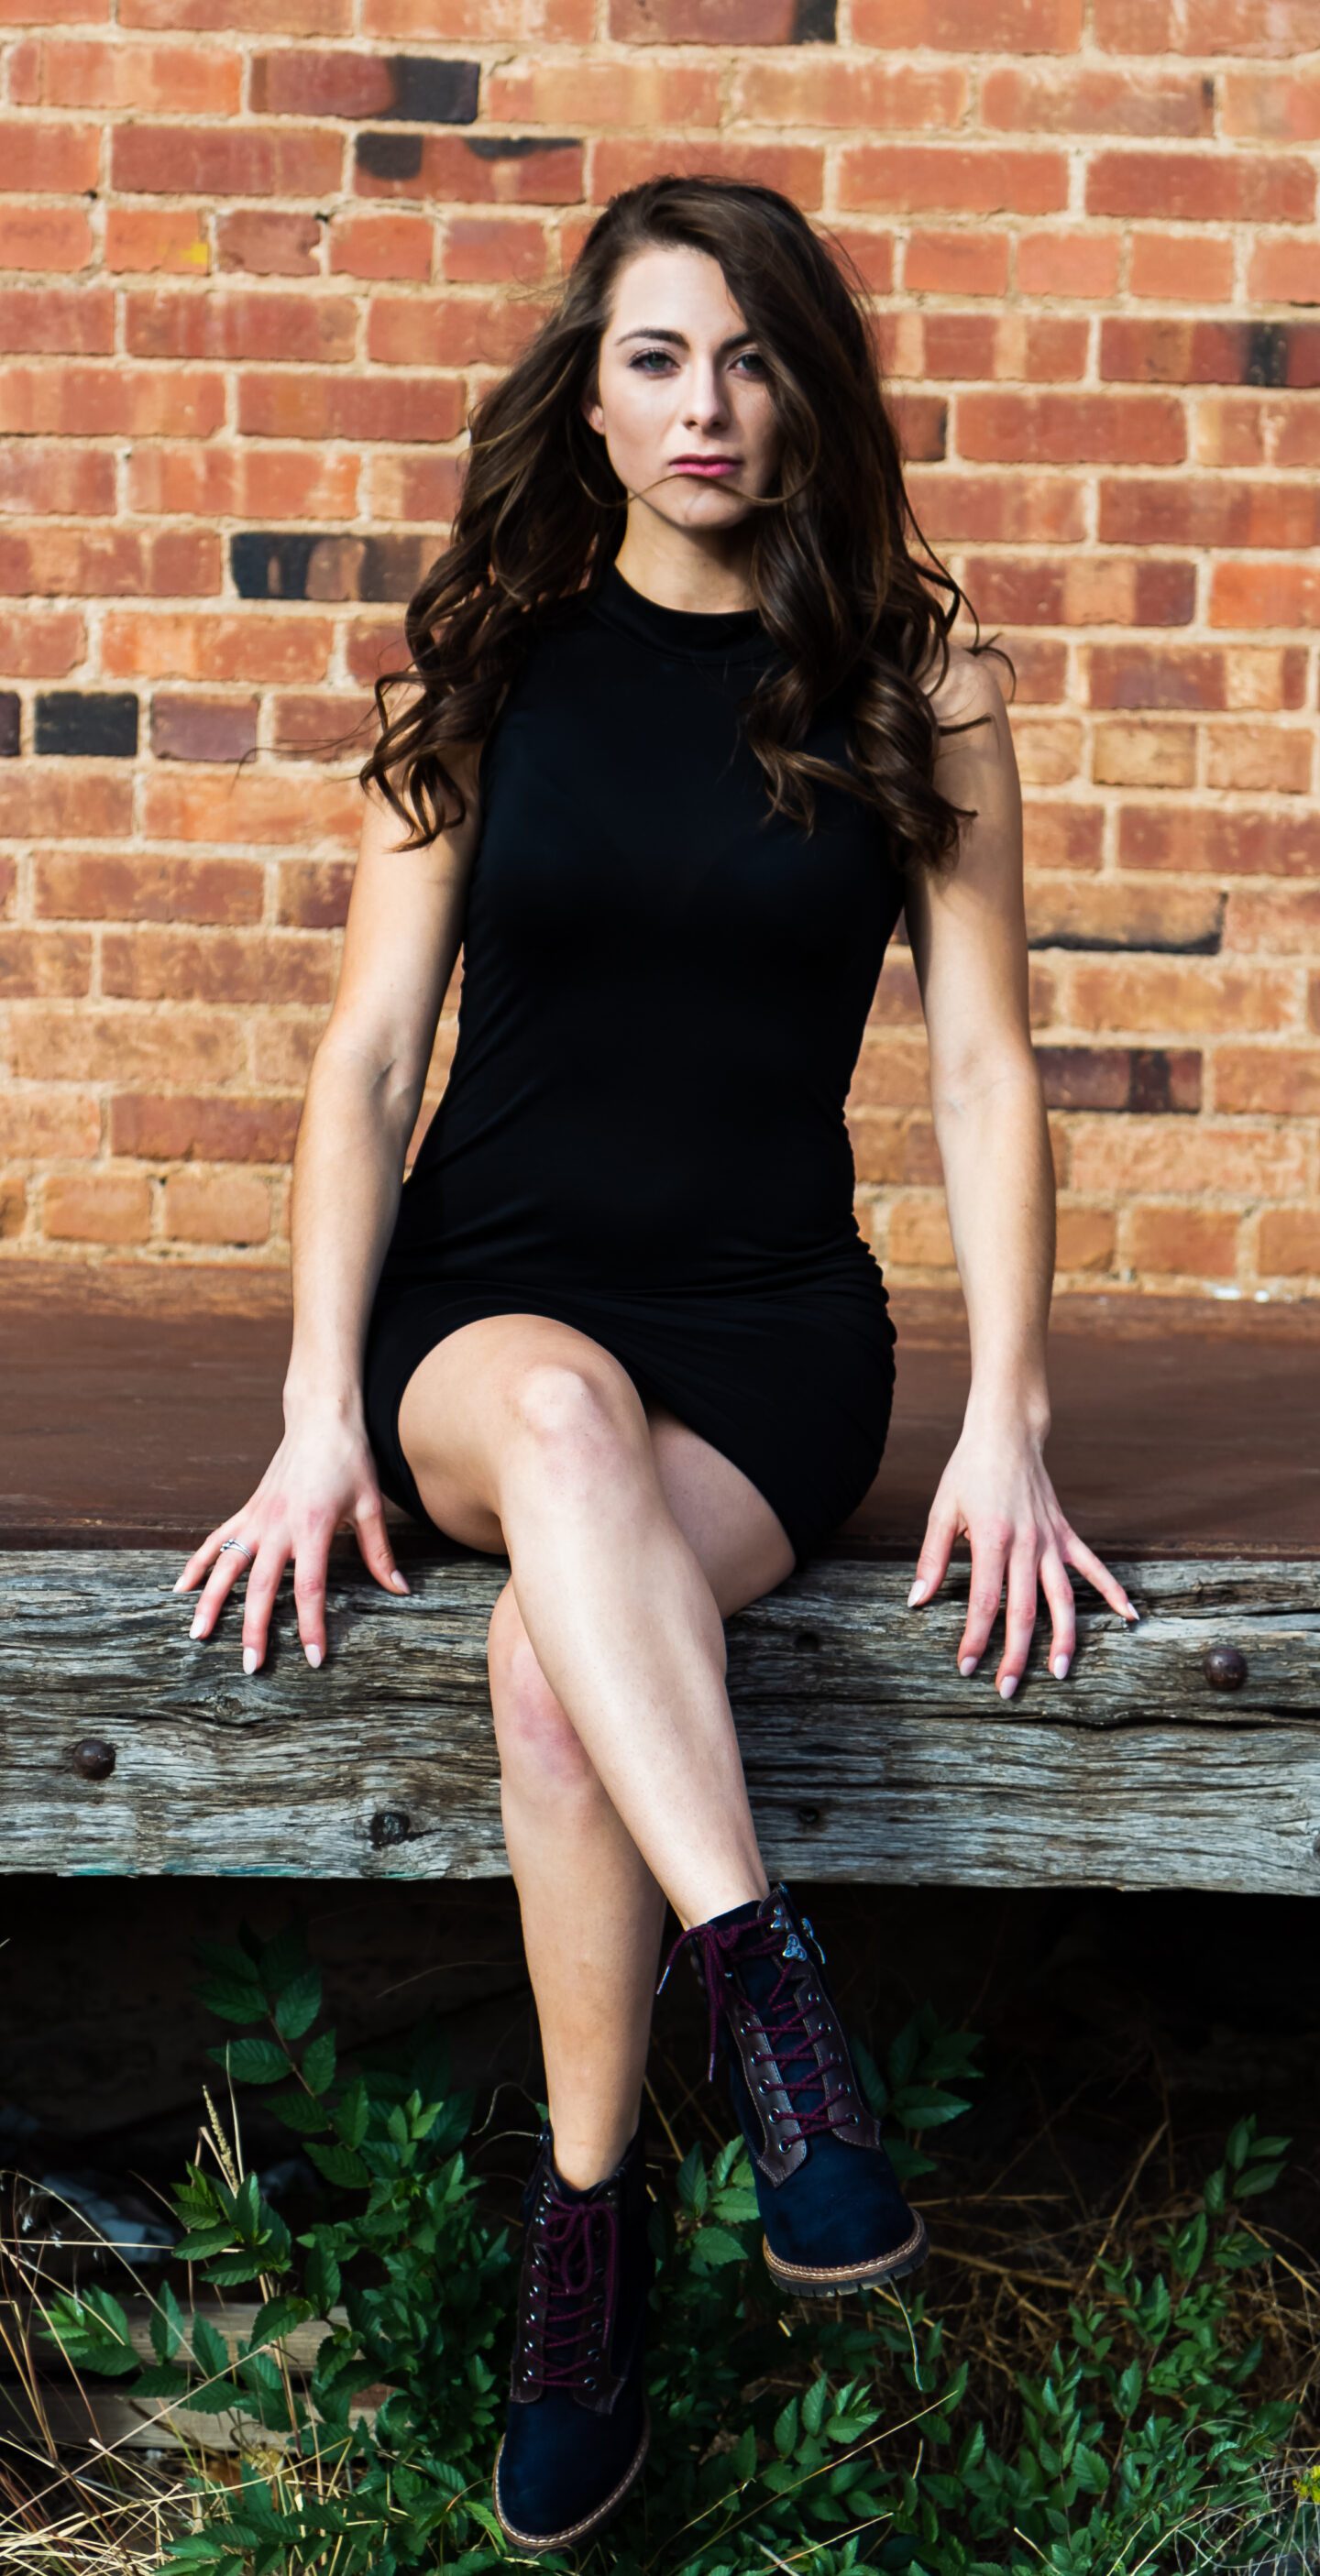
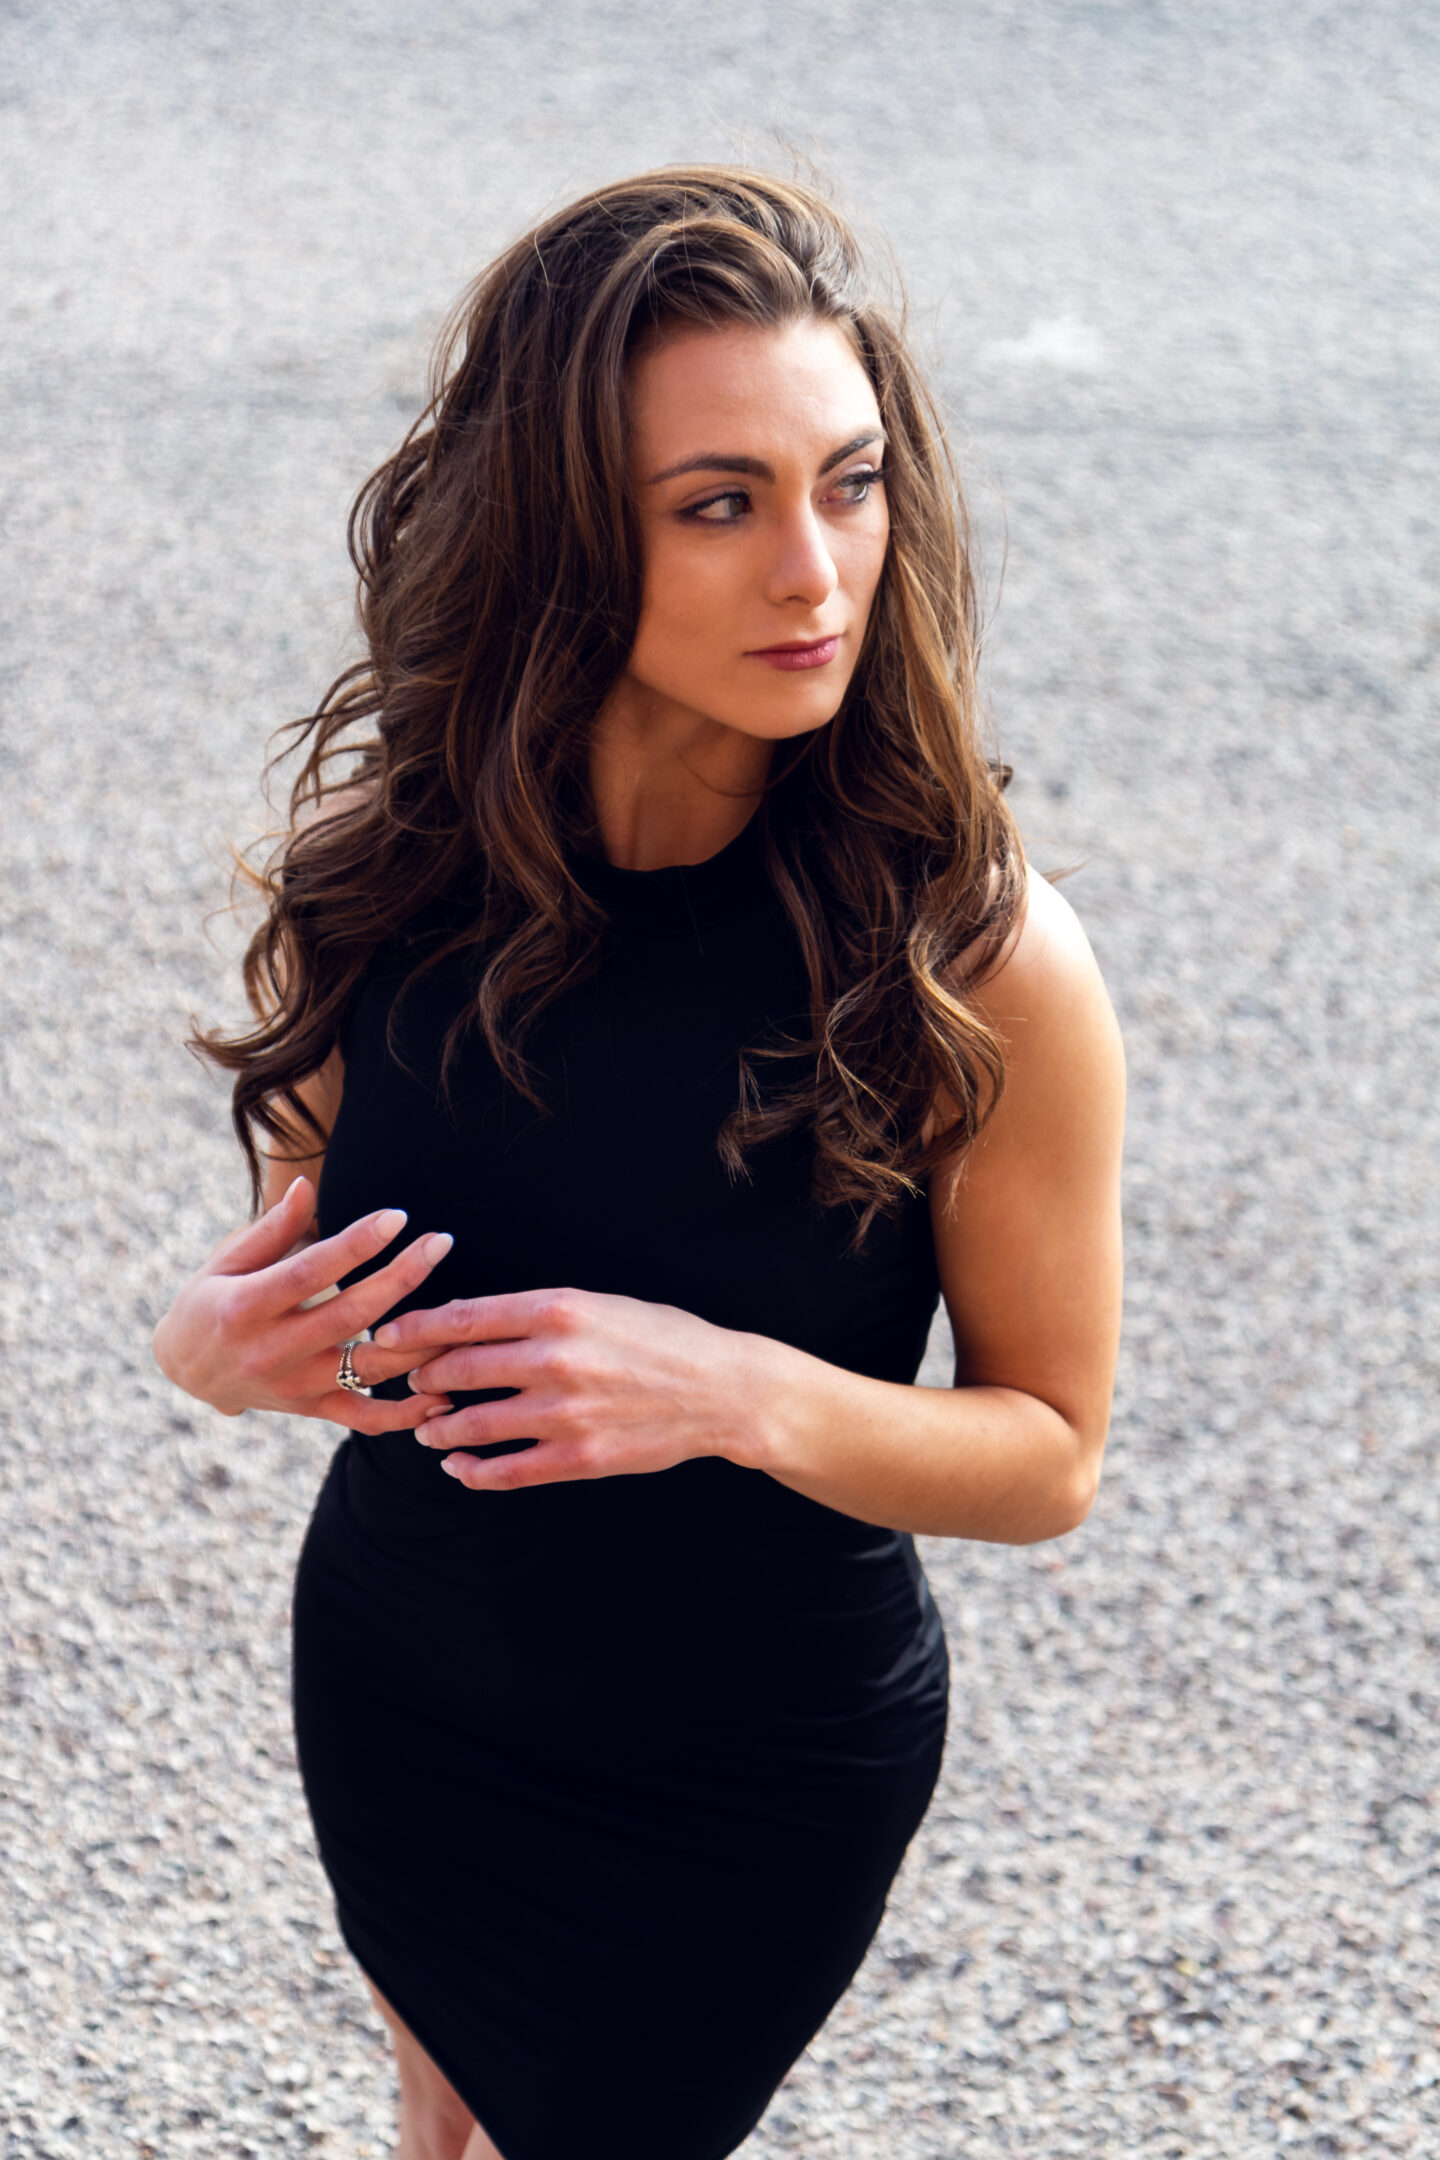
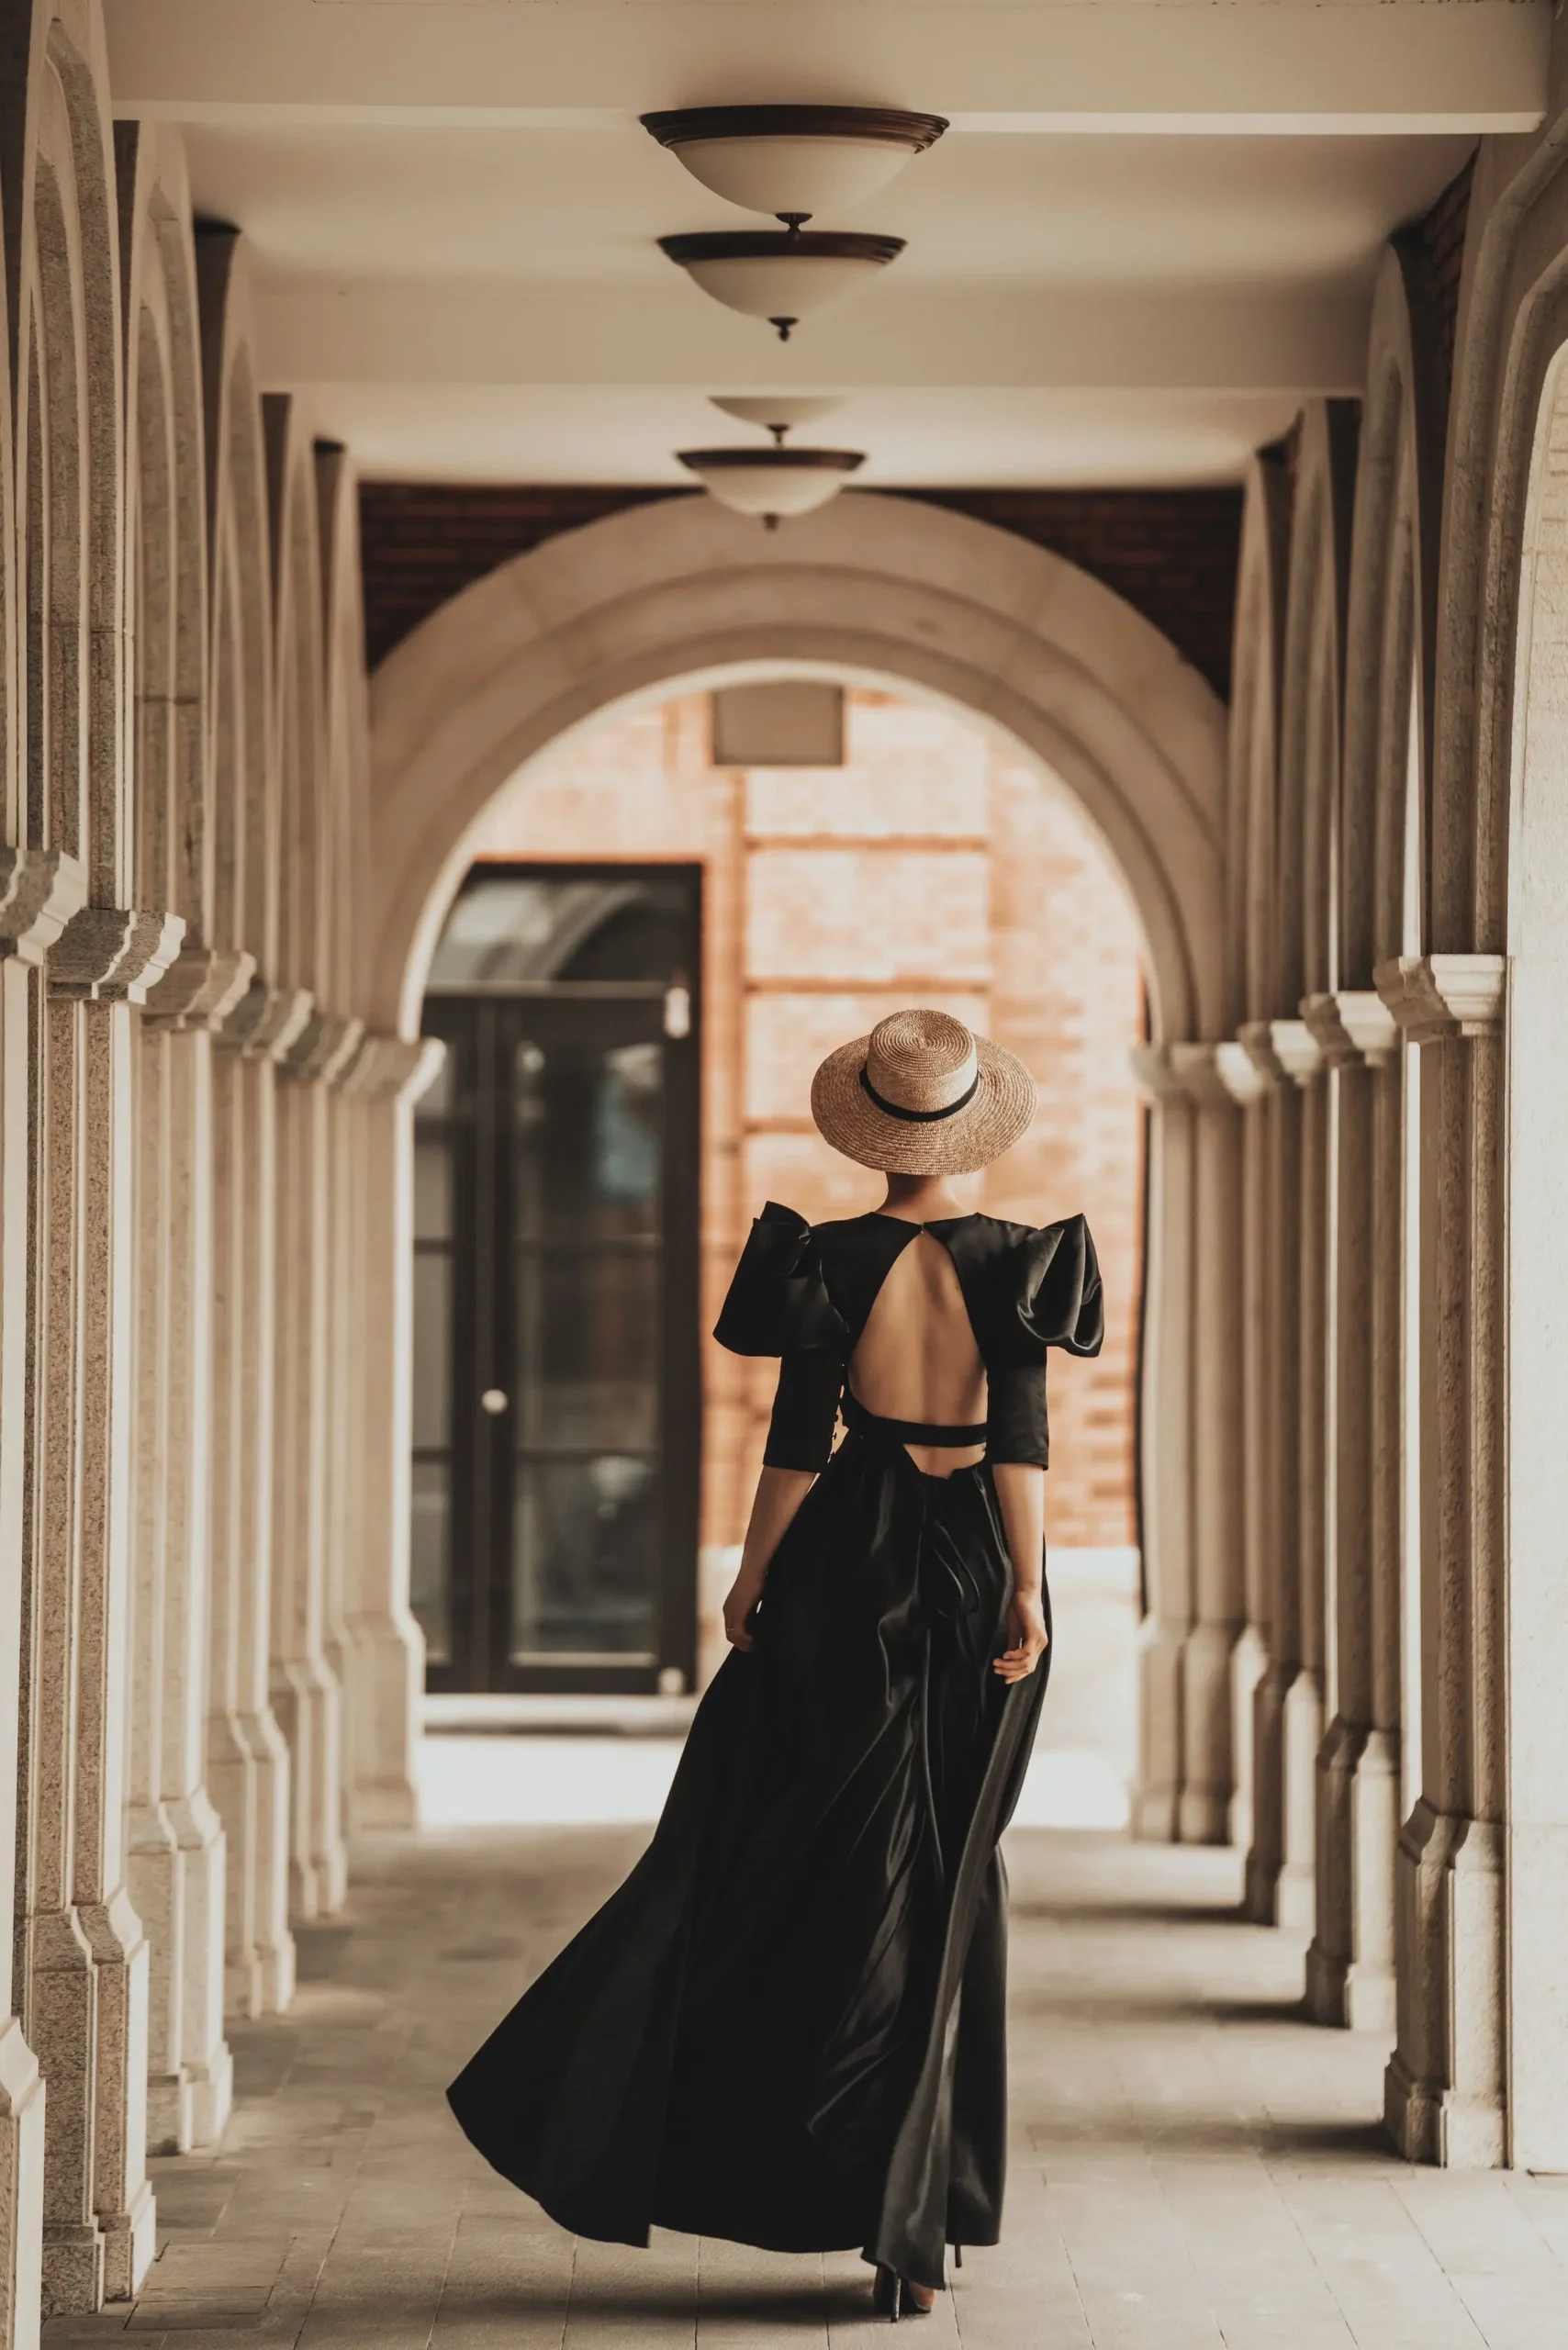
Once I got the shots I needed, we went ahead and removed the red flannel and leather coat for a more elegant look still keeping the blue boots. My edits for this shoot varied from bright and sunny to cool and moody. The wind had died down, and Jaslyn\’s hair had ceased taken on a life of its own, but not before the wind had given us one good shot of her hair blowing in the wind.
One of the reasons, I find photography so appealing is how contrasts come into play. A beautiful model in a location many would find less than desirable can evoke very powerful imagery. The elegance of a long haired brunette can bring out the potential of a location using it to your advantage. Then again, long dark hair paired with an aging wood frame of a window can make it seem as if her hair is blending into the wall behind her and make it seem as if she is coming out of the wall herself.
A difficult aspect about photography and photo shoots in general to me is the culling process. Culling is just selecting the best images from a set of photos to be edited which will then be delivered to the client. Obviously, the first photos to go are the blurred ones, the ones with bad crop or the ones with semi closed eyes which will often bring a chuckle out of the client and myself.
But many times, a slight variation in the angle of the head or the look in the eyes makes it a little hard to choose. When his happens, often times it\’s best to be ruthless. A client is not going to miss an image that is not there. Lightroom makes this process easier by allowing the photographer to assign a white flag to an image to edit or a black flag to reject it. Photos in Lightroom can also be assigned a color or star rating. Personally, I\’ve never used these as I\’ve often chosen white or black flags for my photos.
In the culling process I always keep in mind the theme of the shoot and ask myself if it fits in with what was asked from the client.
